
How to Paper Tune a Compound Bow at Home (Step-by-Step)

Paper tuning is a useful way to check how an arrow leaves a compound bow. By shooting an arrow through a sheet of paper and examining the tear, you can identify potential arrow-flight problems before moving on to more advanced tuning checks.
For bowhunters and target archers, this process can help identify inconsistencies related to the arrow rest, nocking-point height, arrow clearance, or other parts of the setup. However, a paper tear is a diagnostic clue, not a guaranteed diagnosis of a specific component.
In this guide, you’ll learn how paper tuning works, what equipment you need, how to conduct a consistent test, how to interpret common tear patterns, and when it’s best to have a qualified bow technician inspect your setup.
What Is Paper Tuning a Compound Bow?
Paper tuning is an archery diagnostic method used to evaluate an arrow’s initial flight as it leaves the bow. The archer shoots a properly matched, fletched arrow through a sheet of paper suspended in a frame. The resulting hole and tear provide information about the arrow’s orientation at the point of impact.
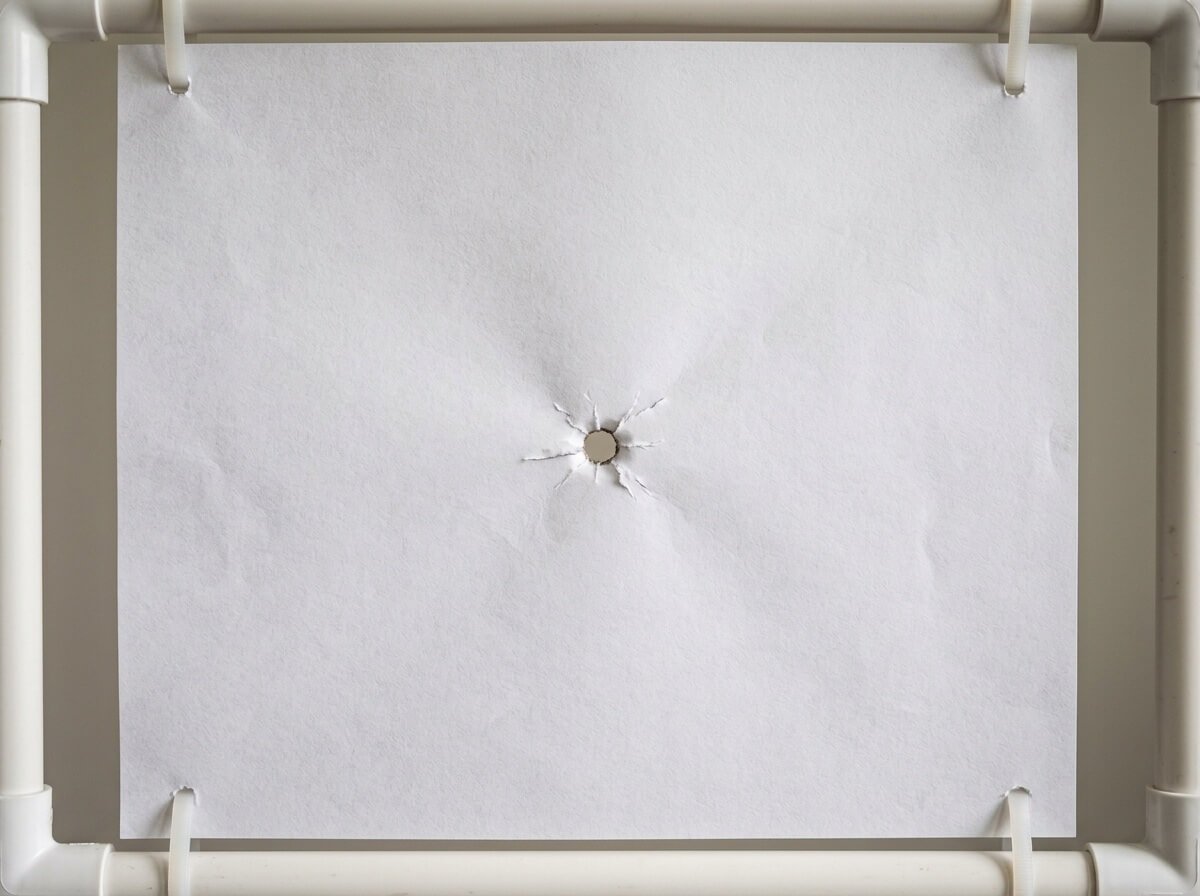
When the arrow’s point, shaft, and fletching pass through the paper along a similar path, the result may resemble a small, clean hole with the fletching slits close to the point opening. Archers commonly call this a bullet hole.
If the arrow is angled as it passes through the paper, the fletching can create a longer tear extending upward, downward, left, right, or diagonally.
These patterns can help identify possible setup problems, but several factors affect the result. Arrow spine, shooting form, grip pressure, nocking-point height, rest alignment, fletching clearance, and cam synchronization can all influence arrow flight.
The goal is to establish consistent, clean arrow flight—not simply to produce one perfect-looking hole. A good paper result is an important checkpoint, but it doesn’t replace grouping tests or other tuning methods.
Why Paper Tune a Compound Bow?
Paper tuning can be useful when setting up a new bow, checking an existing setup, or investigating inconsistent arrow flight. Here are some of its main benefits:
- Identify potential alignment problems: Paper tears can reveal that an arrow is leaving the bow at an angle.
- Check initial arrow flight: The test offers a visible indication of how the arrow behaves immediately after launch.
- Troubleshoot inconsistent results: Repeated tests can help distinguish a persistent pattern from an isolated poor shot.
- Support hunting-bow preparation: Paper tuning is one step toward a reliable setup before verifying broadhead performance.
- Establish a baseline: Recording the results provides a reference for later checks after equipment changes.
Paper tuning is not a substitute for proper bow setup, correct arrow selection, safe equipment inspection, or practice. It also cannot confirm sight accuracy or guarantee that broadheads and field points will group together.
Paper tuning is just one part of preparing for the field; our beginner’s guide to bow hunting covers other fundamentals that new bowhunters should understand before heading out.
Tools and Equipment You Need
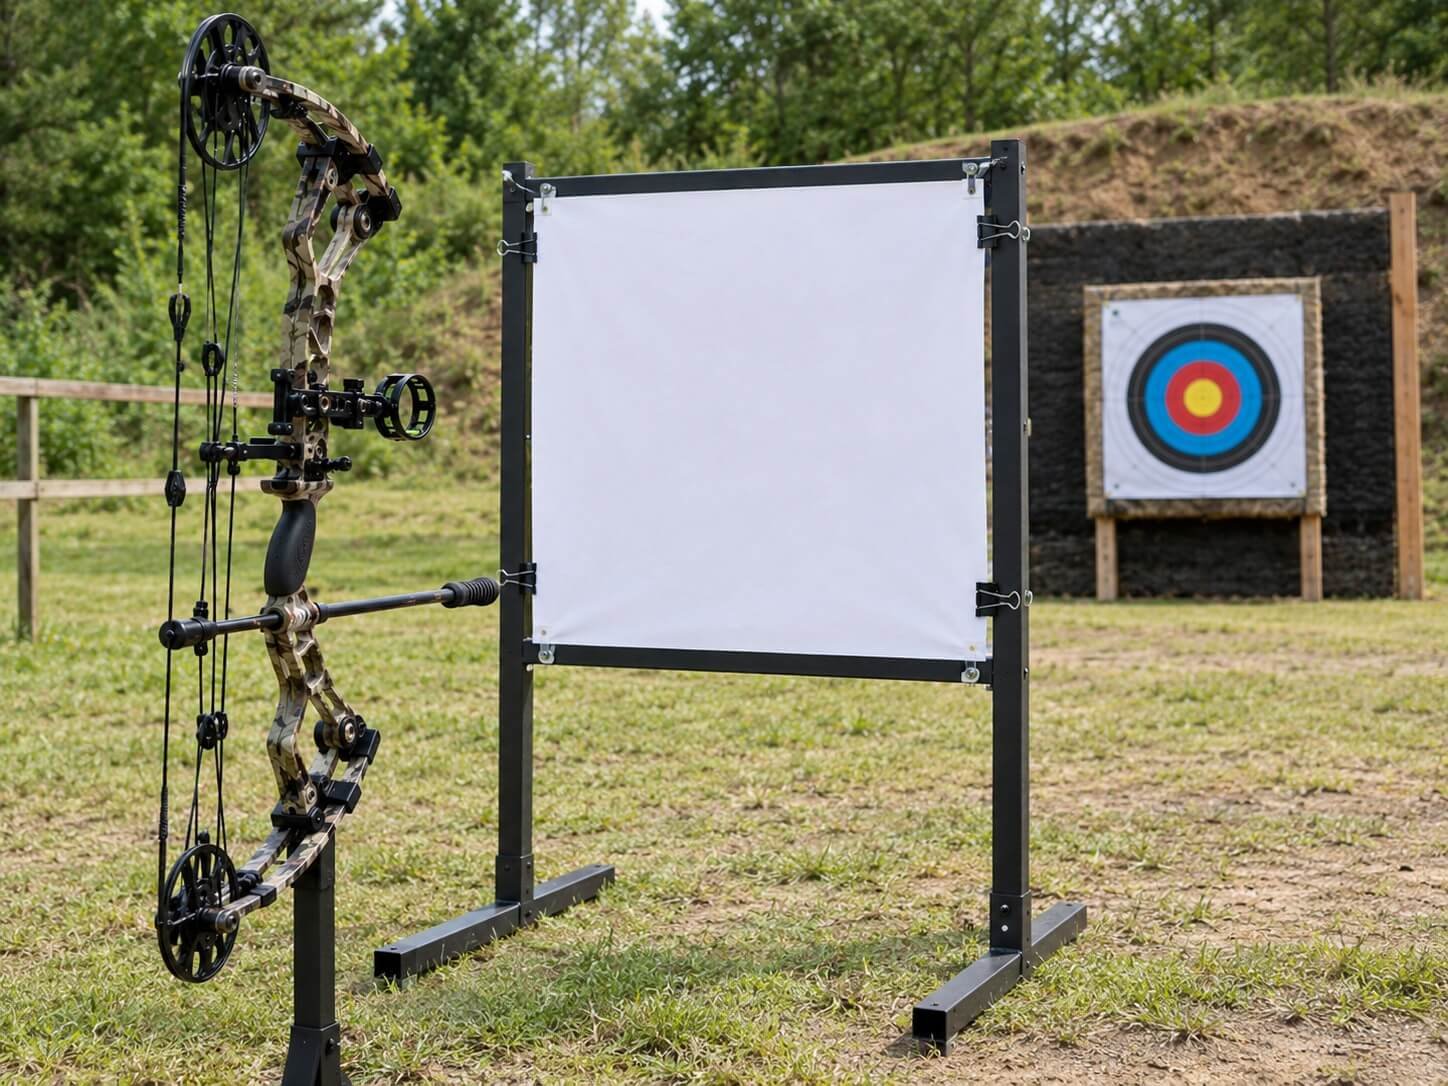
You don’t need an elaborate workshop to perform a basic paper-tuning test. However, you do need a safe shooting area and equipment that is appropriate for your particular bow. If you’re comparing arrow options for hunting or target practice, our guide to carbon arrows for compound bows covers options to consider alongside your bow’s recommended arrow specifications.
| Equipment | Purpose |
|---|---|
| Paper-tuning frame | Holds the paper securely in a vertical position |
| Thin paper or newsprint | Makes the arrow’s entry and tear pattern visible |
| Correctly matched fletched arrows | Provides a consistent test using your normal arrow configuration |
| Suitable target and backstop | Stops the arrow safely after it passes through the paper |
| Measuring tool | Helps record the setup and any permitted adjustments |
| Notebook or phone camera | Records tear patterns and changes between tests |
| Bow manufacturer’s manual | Provides model-specific setup and maintenance instructions |
A simple frame can work if it holds the paper securely and allows the arrow to pass through without striking the frame. The target must be positioned directly behind the paper, with enough clearance for the arrow to pass through the sheet before reaching the target.
Use a suitable archery range or another location with a verified, unobstructed shooting lane and an appropriate backstop. Never set up a paper-tuning station where a missed or passing arrow could reach another person, a road, a building, or an occupied area.
Before You Start: Check Your Bow Setup
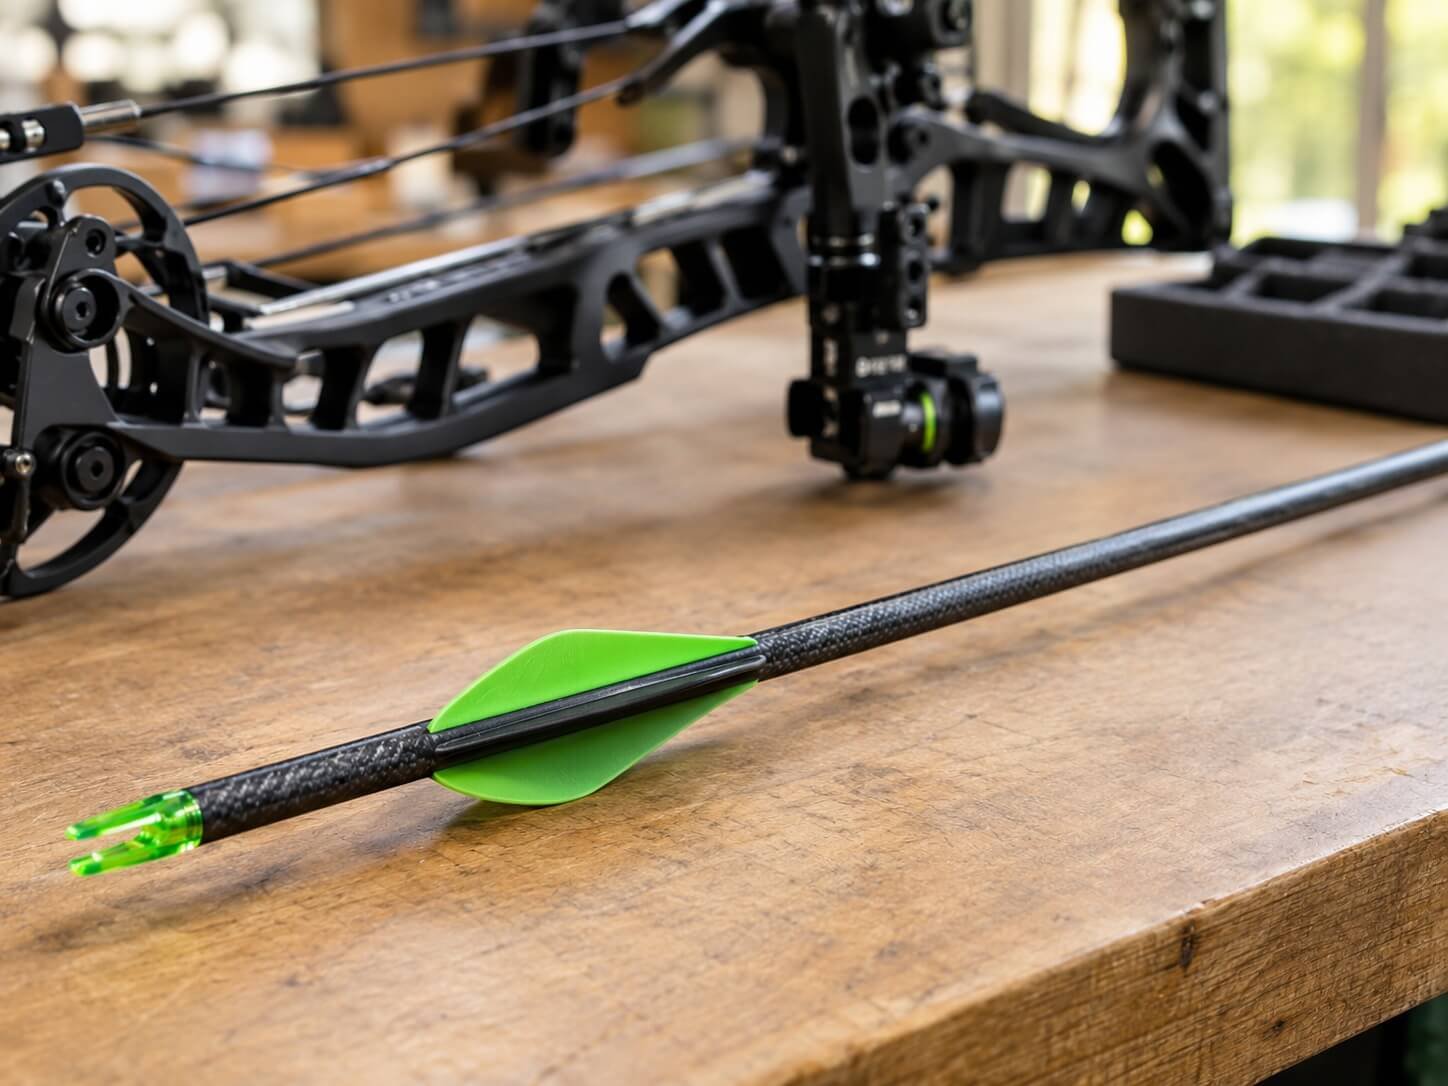
Before shooting through paper, confirm that the bow and arrows are suitable for testing. Paper tuning should not be used to compensate for a damaged bow, an unsuitable arrow, or a major setup problem. Before paper tuning, confirm that your arrows are suitable for your bow’s draw weight and setup, using Easton’s arrow tuning guide as an additional reference.
1. Inspect the bow and arrows
Check the bowstring, cables, limbs, cams, arrow rest, and other visible components for signs of damage or unusual wear. Inspect each arrow according to the shaft manufacturer’s safety instructions, paying particular attention to cracks, splinters, damaged nocks, and loose or damaged components.
Do not shoot damaged equipment. If you suspect a structural problem with the bow or an arrow, stop and seek qualified assistance. If you’re unsure which shaft specifications suit your setup, explore how to choose arrows for a compound bow explains the key factors, including spine, arrow length, and point weight.
2. Confirm that your arrows are suitable
Arrow spine, length, point weight, and total arrow configuration must be appropriate for the bow’s draw weight and draw length. Consult the arrow manufacturer’s selection chart and your bow manufacturer’s guidance.
An arrow that is too weak or too stiff for the setup can produce misleading tuning results. Do not cut shafts or make other permanent arrow modifications simply to eliminate a paper tear without confirming the correct specifications. For additional background, see the manufacturer’s Easton Arrow Tuning Guide.
3. Check the basic setup
Confirm that the nocking point, arrow rest, and other setup components are installed according to the bow and accessory manufacturers’ instructions. The arrow rest should be positioned at the recommended starting point for your specific model.
Do not assume that every compound bow uses the same center-shot measurement, nocking height, or adjustment procedure. Follow the specifications for your bow and rest.
4. Establish a consistent shooting routine
Use your normal, controlled shooting form and the same release method throughout the test. Changes in grip pressure, facial contact, anchor position, or release execution can influence the tear. If the results vary substantially between shots, work on consistency before making mechanical adjustments.
Important safety note: Never loosen limb bolts, change cam timing, twist cables, or attempt other high-load adjustments unless the manufacturer specifically permits the procedure and you have the necessary training and equipment. Many compound-bow repairs and adjustments require a properly rated bow press and a qualified technician.
How to Paper Tune a Compound Bow at Home: Step-by-Step
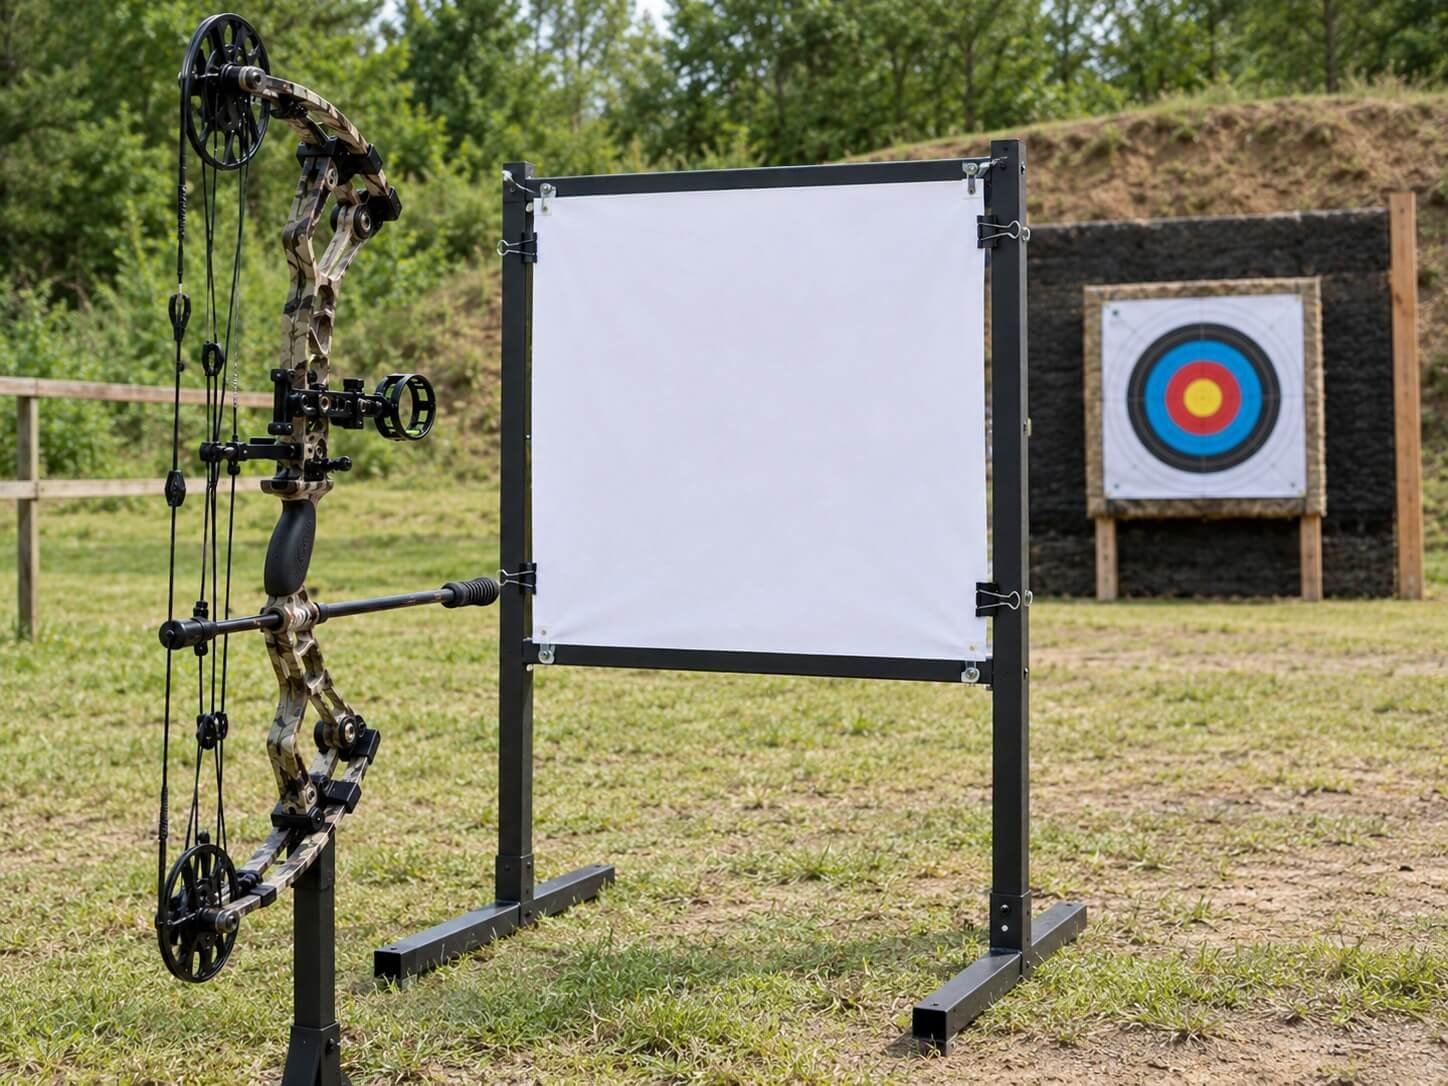
Once the bow has been inspected and its basic setup confirmed, you can conduct a controlled paper-tuning test.
Step 1: Set up the paper frame
Secure a sheet of thin paper in the frame so it hangs vertically without excessive slack. The frame should be stable and positioned so the arrow can pass through the paper without contacting the frame. Place an appropriate target and backstop behind the paper. Make sure the entire shooting lane is clear and that no person can enter the line of fire.
Step 2: Choose a consistent shooting distance
Start at the distance recommended by your tuning reference or equipment manufacturer. A short distance of approximately 4–6 feet from the paper is a commonly used starting point, although other established methods use different distances.
The important thing is to keep the distance consistent while comparing results. Different distances can reveal different aspects of arrow flight, so record the distance you use.
Step 3: Prepare a suitable arrow
Use a properly inspected, correctly matched, fletched arrow with the configuration you intend to evaluate. Confirm that the nock fits the string correctly and that the arrow is supported by the rest as intended. Do not begin with a damaged arrow or an unverified setup. If you’re unsure whether the arrow is appropriate for your bow, consult the manufacturer’s selection guidance or an archery professional first.
“Because rest design and setup can influence arrow clearance, understanding how to choose the right arrow rest can help you evaluate whether your equipment is suitable for your bow.”
Step 4: Shoot through the center of the paper
From a stable shooting position, aim through the paper at a consistent height and shoot toward the target behind it. Use your normal shooting form. Avoid deliberately changing your grip, anchor, or release technique to make the paper tear look better. After the shot, retrieve the arrow only when the range is safe to do so. Examine the hole and the direction of any tear.
Release execution can influence shot-to-shot consistency, so using a suitable bow release for accuracy and maintaining a repeatable shooting routine can help you distinguish form-related variations from persistent tuning issues.
Step 5: Record the result
Photograph the tear or record its pattern in a notebook. Note whether it appears clean, vertical, horizontal, or diagonal. Avoid diagnosing the bow from a single shot. Repeat the test with suitable arrows and consistent form to determine whether the same pattern appears again.
Step 6: Identify possible causes
Compare the repeated tear pattern with a reliable tuning reference. Consider the complete setup, including arrow suitability, nocking-point height, rest alignment, fletching clearance, and shooting consistency. Do not assume that the direction of the tear identifies one specific fault. A similar pattern can have several causes, and some adjustments that are appropriate for one bow or rest may be unsuitable for another.
Step 7: Make only appropriate, small adjustments
If a persistent pattern remains, consult your bow and accessory manuals before changing anything. Make only adjustments permitted by those instructions and change one variable at a time. If the possible cause involves cam timing, cable or yoke adjustments, limb alignment, or another high-load component, have a qualified bow technician evaluate it.
Step 8: Repeat the test
After any permitted adjustment, repeat the test under the same conditions. Compare the new tear with the previous result and record the change.
If the pattern improves consistently, continue with the verification steps recommended for your equipment. If the tear becomes inconsistent or requires increasingly large adjustments, stop and investigate the underlying problem rather than continuing to move components.
Step 9: Confirm the result beyond paper
A clean paper tear is a useful checkpoint, but it is not proof that the entire bow-and-arrow system is correctly tuned. Verify your setup with consistent groups at an appropriate distance, then follow the relevant tuning procedures for your intended use.
“Once your basic setup is verified, bowhunters should also confirm broadhead flight rather than relying on paper tuning alone; our fixed-blade vs. mechanical broadhead comparison provides additional context for evaluating hunting broadheads. Bowhunters should also verify broadhead flight using safe, controlled methods and appropriate targets before relying on the setup in the field.”
How to Read Compound Bow Paper Tears
The tear pattern provides clues about the arrow’s orientation as it passes through the paper. The most useful starting point is to identify where the fletching has torn the paper relative to the point opening. The following table summarizes common observations and the areas worth checking first.
| Paper result | What it may indicate | What to check |
|---|---|---|
| Clean, compact hole | The arrow is leaving with relatively clean initial flight | Repeatability, arrow condition, and downrange groups |
| Tail-high tear | Possible vertical launch or clearance issue | Nocking height, rest setup, fletching clearance, and cam synchronization |
| Tail-low tear | Possible vertical launch or clearance issue | Nocking height, rest support, launcher timing, and cam synchronization |
| Tail-left tear | Possible horizontal launch or clearance issue | Grip torque, arrow spine, rest alignment, and vane contact |
| Tail-right tear | Possible horizontal launch or clearance issue | Grip torque, arrow spine, rest alignment, and vane contact |
| Diagonal tear | Possible combination of vertical and horizontal issues | Shooting consistency, clearance, and basic setup |
| Different tear on each shot | Inconsistent shooting or an unstable setup | Form, arrow condition, loose components, and clearance |
Important: These are troubleshooting clues, not universal adjustment instructions.
Handedness, the type of rest, bow design, arrow configuration, and the way a tear is described can affect interpretation. Confirm the diagnosis with the manufacturer’s tuning procedure before changing the setup.
What does a clean paper tear look like?
A clean result typically shows a compact opening where the point and fletching pass through without creating a pronounced directional tail. The fletching may leave small slits, so the goal isn’t necessarily a perfectly round hole with no marks at all.
Consistency matters more than a single attractive result. Repeat the test and confirm that your arrows group reliably.
What if the arrow tears the paper vertically?
A vertical tear may point to an issue involving the arrow’s vertical launch angle, nocking-point height, rest position, or launcher behavior. Fletching contact and cam synchronization may also play a role. Check the basic setup and confirm that the pattern repeats. Use the tuning guidance for your bow and rest rather than automatically raising or lowering a component based on one shot.
What if the arrow tears the paper horizontally?
A horizontal tear may be related to rest alignment, arrow spine, grip torque, release execution, or contact between the arrow and nearby components. First rule out inconsistent shooting and fletching contact. If the pattern persists, consult the manufacturer’s procedure for diagnosing horizontal tears on your specific setup.
What if the tear is diagonal?
A diagonal tear can indicate that more than one factor is influencing the arrow’s flight. It may also result from inconsistent form or clearance problems. Record the result, check the basics, and avoid making several adjustments simultaneously. If you cannot establish a repeatable pattern, seek professional help before making larger changes.
Common Paper-Tuning Problems and How to Troubleshoot Them
Even when the equipment is suitable, paper tuning can produce confusing results. These are some of the most common problems to investigate.
Inconsistent tears from shot to shot
If one arrow produces a clean hole and the next produces a pronounced tear, don’t immediately move the rest. Check whether the same arrow is being used, whether your form is consistent, and whether the bow or accessory components have any visible problems.
Repeat the test under controlled conditions. If the pattern remains inconsistent, a qualified technician can help identify setup issues that aren’t obvious from the paper.
Fletching contact with the rest or cables
An arrow vane that contacts the rest, cables, or another part of the bow during launch can leave a misleading tear. Inspect for contact using the method recommended by the rest manufacturer. Do not put your hands near moving components while the bow is being drawn or fired.
If contact persists, have the rest position, vane orientation, and accessory compatibility checked. A larger rest adjustment may not solve the underlying problem.
Incorrect arrow spine
Arrow spine must match the bow’s specifications and the arrow’s complete configuration. An unsuitable spine can make tuning difficult and can compromise safe arrow performance.
Check the shaft manufacturer’s selection chart rather than using paper tears alone to decide whether an arrow is too weak or too stiff. Consult an experienced archery technician if the appropriate configuration is unclear.
Incorrect basic setup
If the arrow rest, nocking point, or other components are far outside the manufacturer’s recommended starting position, paper tuning may become an exercise in compensating for a setup error. Return to the correct model-specific baseline before attempting fine tuning. If you cannot confirm that baseline, ask a qualified technician to inspect the bow.
Making too many adjustments at once
Changing several components together makes it difficult to determine which change affected the result. It can also move the bow farther away from a safe or recommended configuration. Record the original setup, make only authorized adjustments, and retest after each change. If the result worsens, stop and reassess instead of continuing to compensate.
Is Paper Tuning Enough to Tune a Compound Bow?
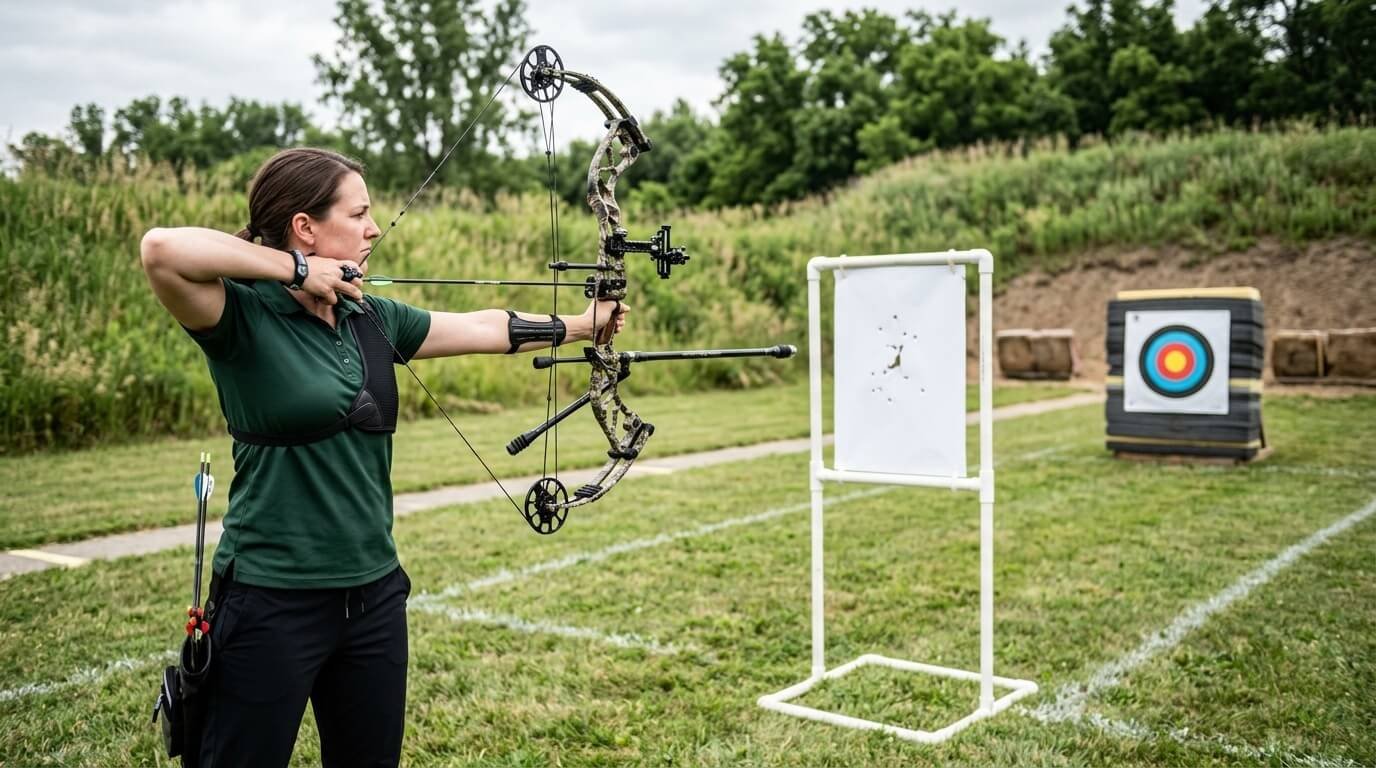
No. Paper tuning is useful, but it evaluates only one aspect of arrow flight. A bow can produce a clean paper tear and still need further work to achieve reliable accuracy at longer distances. A more complete verification process may include the following:
- Basic equipment inspection: Confirm that the bow and arrows are in safe condition and that the setup follows the manufacturer’s specifications.
- Paper tuning: Evaluate initial arrow flight and investigate persistent tear patterns.
- Group testing: Shoot consistent groups at appropriate distances to assess real-world accuracy.
- Additional tuning checks: Depending on the equipment and the archer’s needs, a technician may recommend walk-back tuning, bare-shaft testing, or other diagnostic methods.
- Broadhead verification: For hunting setups, confirm broadhead performance using suitable targets, a safe range, and the manufacturer’s instructions.
These methods complement one another. A paper test cannot establish sight accuracy, guarantee consistent groups, or prove that a hunting setup is ready for use.
When Should You Take Your Compound Bow to a Professional?
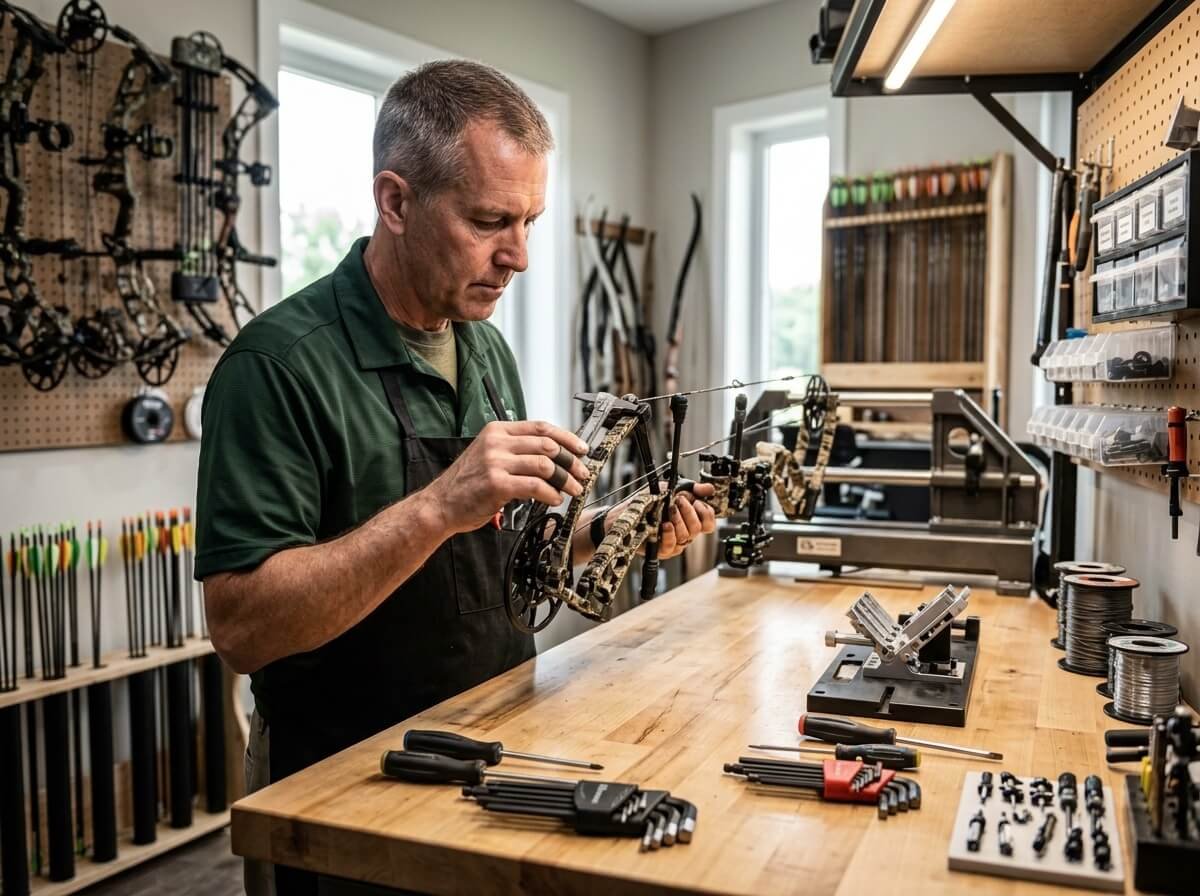
Paper tuning can help identify possible problems, but some adjustments require specialized equipment and experience. Seek help from a qualified bow technician if:
- You suspect damaged limbs, strings, cables, cams, or other structural components.
- The bow’s cam timing or synchronization appears incorrect.
- You suspect cam lean, cable, or yoke issues.
- The setup requires a bow press or an adjustment outside the manufacturer’s approved home-maintenance procedures.
- Repeated paper tears remain inconsistent despite checking the basic setup.
- You cannot confirm the correct arrow spine or model-specific setup measurements.
- Your arrows show signs of damage or you suspect unsafe arrow clearance.
The bow manufacturer’s owner’s manual is the primary reference for model-specific maintenance and adjustment limits. For example, Hoyt’s official manuals page provides access to manuals for its compound bows and other archery equipment. Professional inspection is not a failure. It is often the safest and most efficient way to resolve a persistent tuning issue.
FAQs How to Paper Tune a Compound Bow at Home
How far away should you stand when paper tuning a compound bow?
A distance of approximately 4–6 feet is a commonly used starting point, although established methods vary. Follow your tuning reference and keep the distance consistent during comparisons. Some archers perform additional checks at other distances to see whether the result changes.
What does a perfect paper tune look like?
A good result usually has a compact point opening with the fletching passing through without a pronounced directional tear. Small fletching slits are normal. Repeatability and consistent downrange groups matter more than achieving one visually perfect hole.
Can I paper tune a compound bow at home without a bow press?
You can perform a basic paper test without a bow press if the bow is already in a safe, correctly configured condition and no press-dependent adjustment is needed. However, do not attempt cable, cam, or limb-related work that requires a press or specialized training.
Why does my compound bow produce different paper tears?
Changing tears can result from inconsistent shooting form, arrow differences, fletching contact, loose or damaged equipment, or an underlying setup issue. Confirm that your equipment is suitable and repeat the test consistently before attempting adjustments.
Should I paper tune before bowhunting?
Paper tuning can be a useful part of preparing a hunting bow, but it should not be the final check. Verify safe equipment condition, consistent groups, and broadhead flight using suitable equipment and a safe range before hunting.
Does a clean paper tear guarantee accurate arrows?
No. A clean tear suggests that the arrow is leaving the bow with relatively clean initial flight. Accuracy also depends on arrow suitability, shooting form, sight setup, equipment condition, and repeatable performance at distance.
Can paper tuning fix a broadhead that flies differently from a field point?
Paper tuning may help reveal an initial arrow-flight problem, but it cannot guarantee that broadheads and field points will impact together. Confirm the arrow configuration and overall setup, then use an appropriate broadhead-tuning process. Consult a qualified technician if the difference persists.
Final Thoughts
Paper tuning a compound bow at home can help you understand how your arrows leave the bow and identify possible setup issues before moving on to more advanced checks. The process is most useful when the equipment is already safe, the basic setup follows manufacturer guidance, and each test is performed consistently.
Start with a suitable paper frame, inspect your equipment, record your results, and treat every tear as a clue rather than a definitive diagnosis. Make only adjustments permitted by the relevant instructions, and leave complex mechanical work to a qualified bow technician.
Most importantly, don’t judge your entire setup by one paper tear. Combine a repeatable paper result with sound equipment checks, consistent groups, and the additional verification appropriate for your intended use. That’s a more reliable way to build confidence in your compound bow setup.