Dial Your MTB Sag Like a Pro: Easy Suspension Setup Tips
Many mountain bikers spend hundreds on suspension upgrades but overlook one simple setup step that makes the biggest difference: sag. Dialing in the correct MTB sag helps your suspension track the trail smoothly, improves traction on rough terrain, and keeps the bike stable during descents.
Sag is the amount your suspension compresses under your body weight while you’re in a natural riding position. If it’s too little, the bike feels harsh and skittish. Too much sag makes the bike wallow and lose efficiency.
This guide breaks down how to measure MTB sag correctly, how much sag you should run, and how to adjust it for different riding styles. The process is simple and only takes a few minutes, yet it can completely transform how your bike performs on the trail.
Why Sag Matters for Your MTB Performance?
Understanding sag is essential for optimizing suspension. Sag affects:
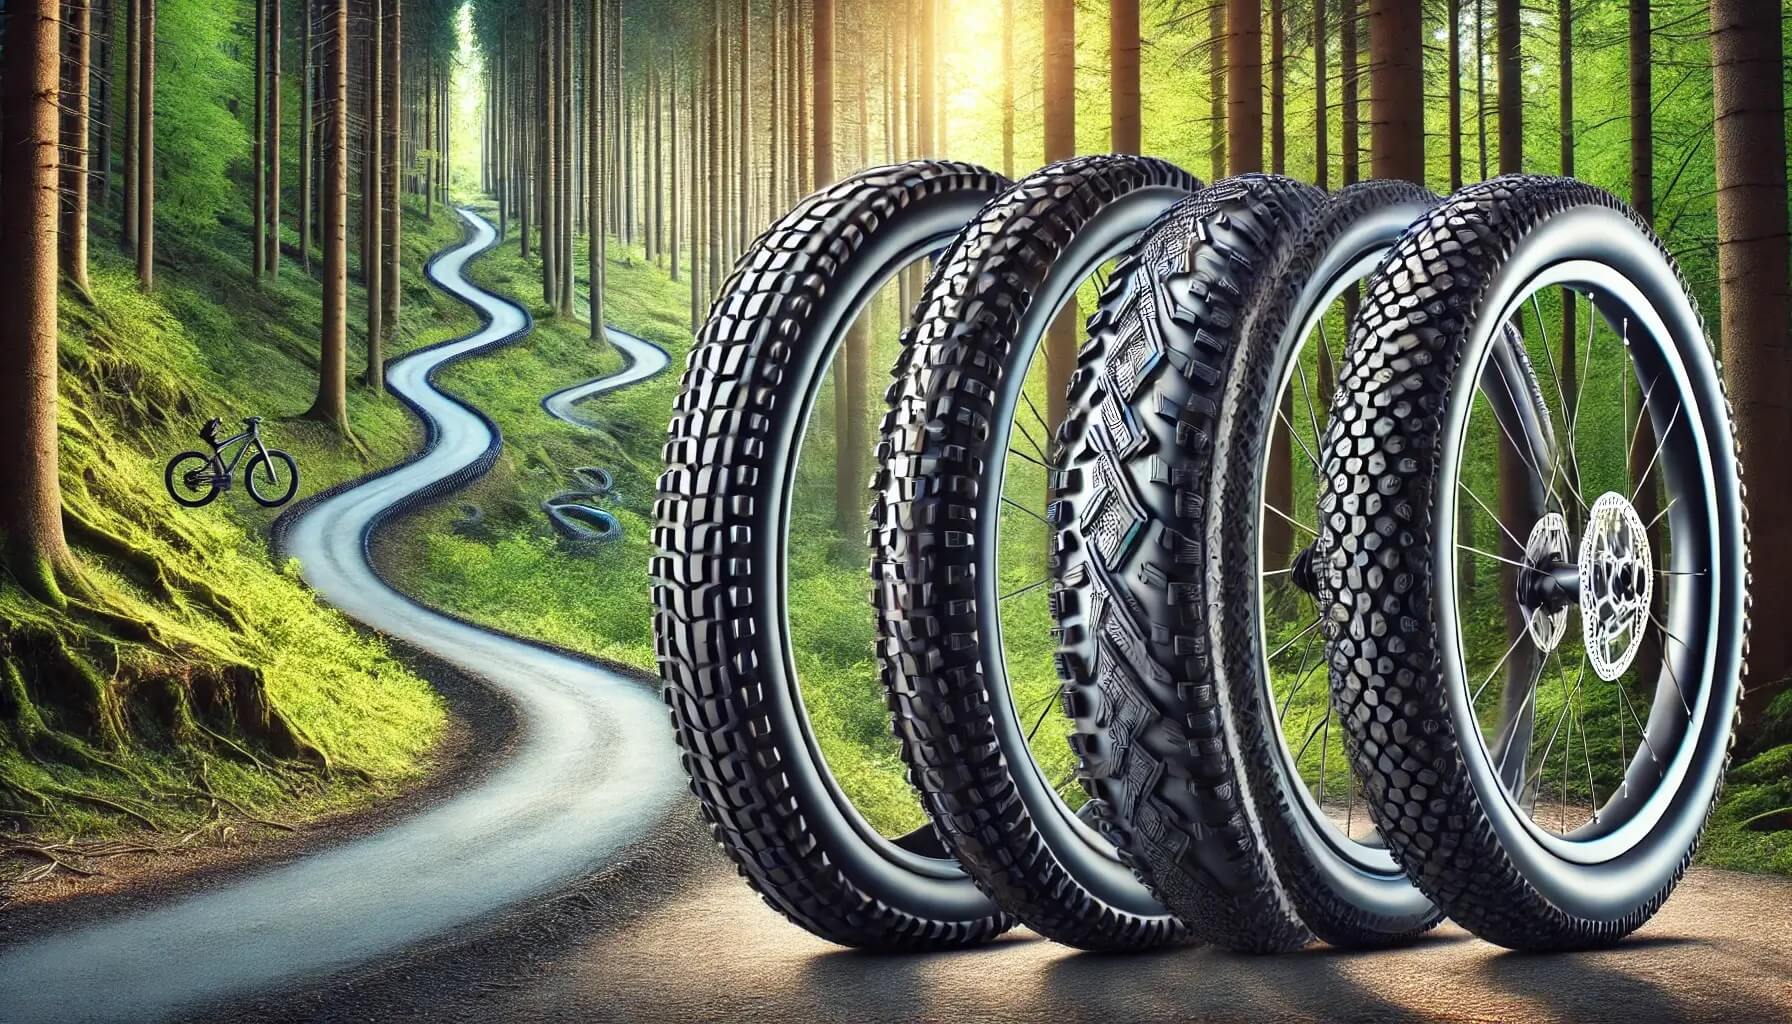
- Traction: Proper sag keeps your tires in contact with the trail, improving grip.
- Control: Too little sag makes the ride harsh; too much sag makes it sloppy.
- Comfort: The right sag ensures smooth absorption of bumps and obstacles.
- Suspension Efficiency: Correct sag allows full use of your suspension’s travel, maximizing performance.
Setting the correct sag on your mountain bike suspension is one of the most important steps for control and comfort on the trail. Even the best bikes can feel unstable if suspension isn’t tuned correctly. If you’re still choosing a bike, check our guide to the best mountain bikes for modern trails.
Understanding MTB Suspension Basics
Most suspension manufacturers provide recommended sag ranges for different riding styles. Brands like Fox Racing Shox publish setup charts that riders use as a starting point when dialing suspension. Before adjusting sag, you need to understand your bike’s suspension components:
1. Front Suspension (Fork)
- Usually has more travel than the rear on cross-country bikes.
- Measured in millimeters of travel (e.g., 120mm, 140mm).
- Sag is 15–30% of total travel.
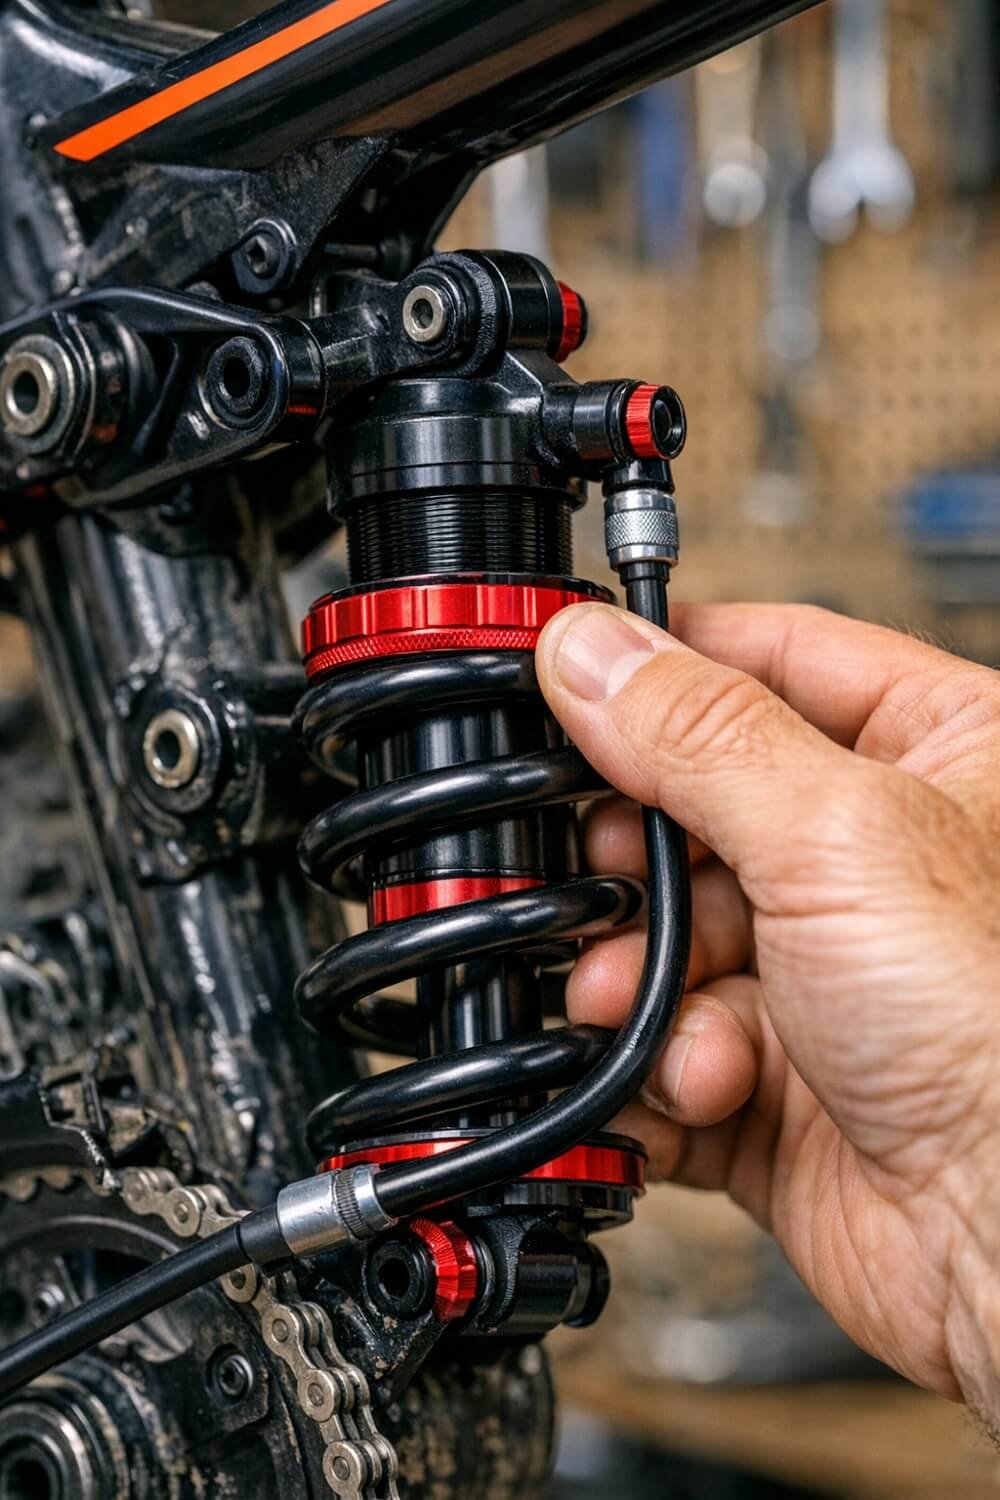
2. Rear Suspension (Shock)
- Works in conjunction with the front for a balanced ride.
- Sag is usually 25–30% of rear travel.
- Rear shock can be coil or air; air shocks are easier to fine-tune.
Tools You’ll Need to Set Sag
You don’t need a full workshop—just a few essentials:
- Shock pump – for adjusting air pressure
- Rubber O-rings – to measure sag
- Tape measure or ruler – for manual measurement if no O-ring
- Notebook – to record settings for future reference
Tip: Keep a small bag of spare O-rings for different bikes; they’re cheap but save a lot of hassle.
Step 1: Preparing Your MTB for Sag Adjustment
- Check your bike weight: Make sure you’re in full riding gear, including helmet, hydration pack, and any tools you carry.
- Inspect suspension: Look for damage, oil leaks, or worn bushings. Sag adjustments won’t work properly if the suspension is compromised.
- Clean the stanchions and shock shafts: Dirt affects accurate measurements.
Pro Tip: Even a thin layer of dirt can affect the O-ring measurement by 2–3 mm, which matters on short-travel XC bikes.
Step 2: Measuring Sag Correctly
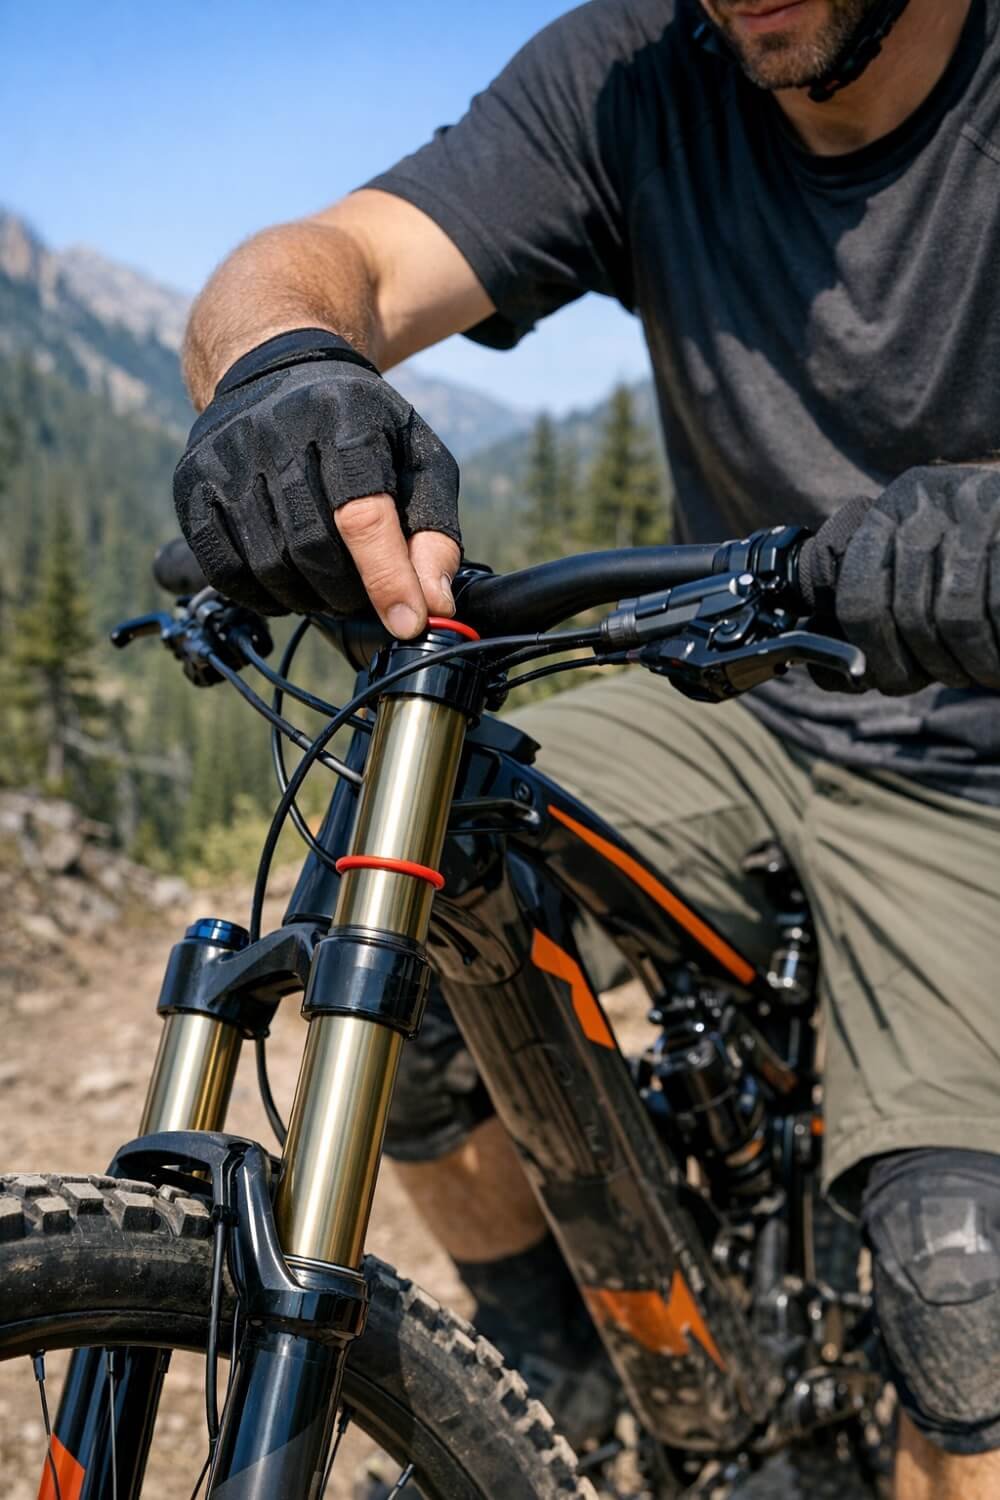
Front Fork Sag
- Slide the rubber O-ring down to the fork’s dust seal.
- Sit on the bike carefully (have a friend hold it).
- Stand up and check where the O-ring rests.
- Measure the distance compressed:
- Target: 15–30% of travel for XC
- Example: 140mm fork → 21–42mm sag
The front fork absorbs impacts from rocks, roots, and drops. Setting correct sag helps maintain traction and steering control. If you’re upgrading suspension, our guide to the best mountain bike forks of 2026 covers tested options for different riding styles.
Rear Shock Sag
- Slide the O-ring on the shock shaft.
- Sit fully on the bike in riding position.
- Have a friend hold the bike upright.
- Stand up and measure the compression:
- Target: 25–30% of rear travel
- Example: 120mm rear → 30–36mm sag
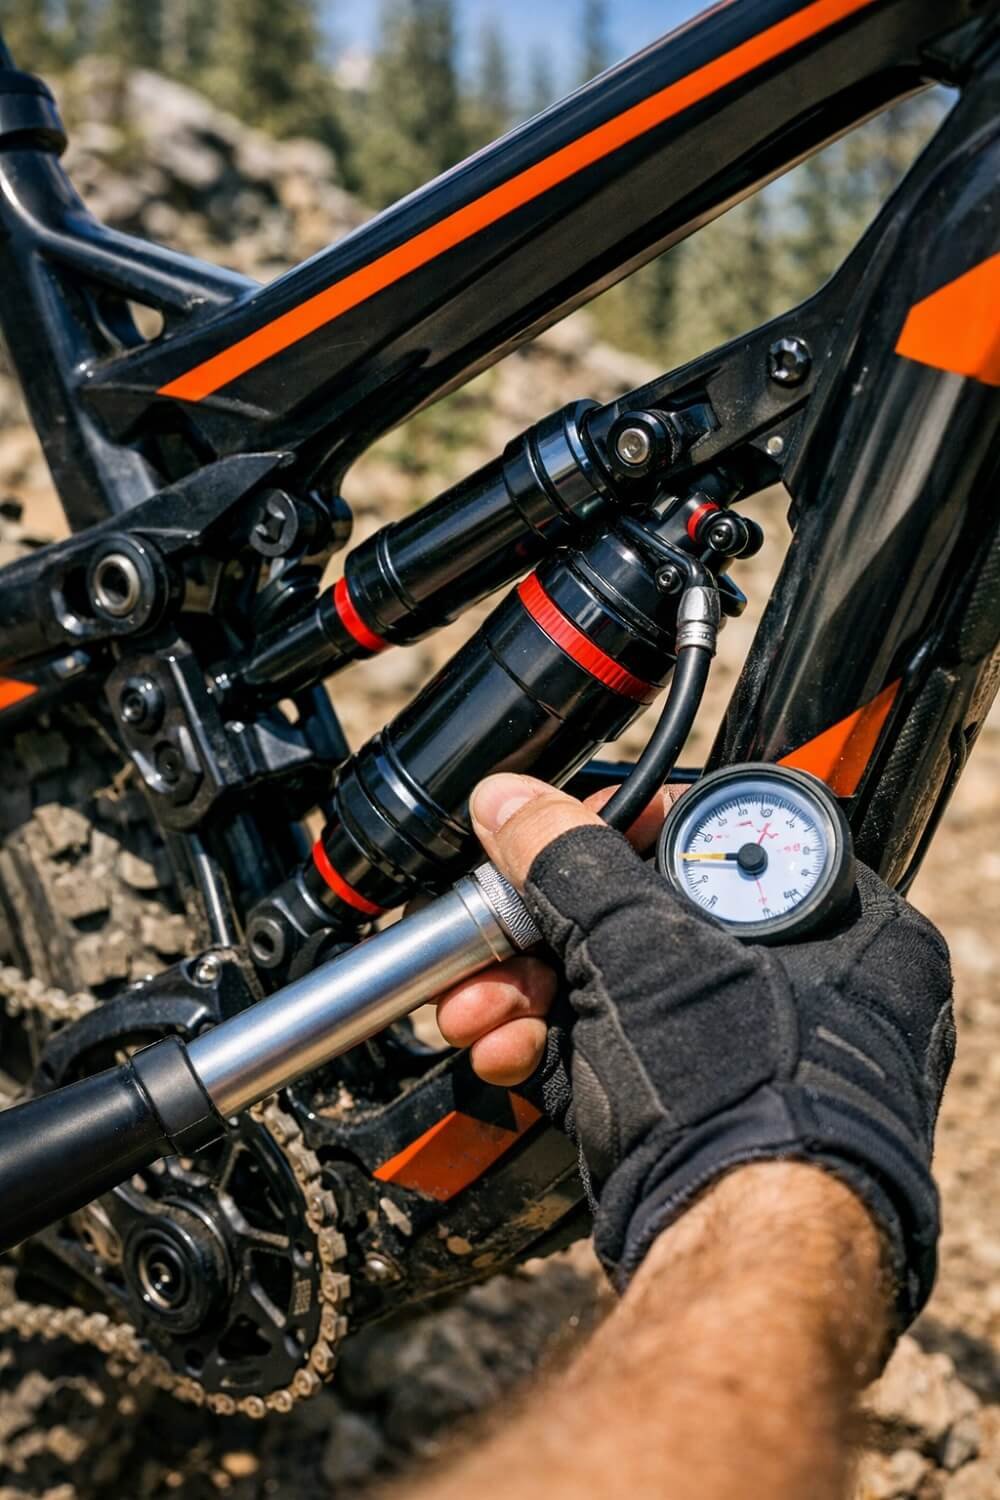
Step 3: Adjusting Air Pressure (for Air Shocks)
- Remove the cap from your air shock or fork.
- Use a shock pump to increase or decrease pressure:
- Too much sag → reduce pressure
- Too little sag → increase pressure
- Check sag after each adjustment until it falls within the target range.
Tip: Adjust in small increments (5–10 psi). Changes are more noticeable than you think.
Step 4: Coil Shock Adjustment (if applicable)
- Choose a spring with proper stiffness (N/mm or lb/in) for your weight.
- Adjust preload with a spanner or collar to get correct sag.
- Test by sitting on the bike in full gear and measuring.
Pro Tip: Coil shocks are less sensitive to small weight changes, but the right preload ensures the suspension doesn’t bottom out too early.
Step 5: Fine-Tuning for Riding Style
Sag isn’t just about weight—it depends on how you ride:
- Aggressive XC or enduro: Slightly more sag for traction and control
- Trail riding: Mid-range sag for comfort and efficiency
- Downhill: Max safe sag for shock absorption
Learn more in our 7 Dropper Post Care Tips for a Smooth & Reliable Ride.
Step 6: Check Rebound and Compression
Sag is just the start. After setting sag:

- Rebound: Controls how fast the suspension returns.
- Compression: Controls how fast it compresses under load.
Tip: A properly tuned sag allows you to dial in rebound and compression more effectively.
Common Mistakes to Avoid
- Using incorrect riding weight (gear adds weight)
- Measuring sag without proper posture
- Over-tightening or over-inflating shocks
- Forgetting to test ride after adjustments
- Ignoring suspension wear or leaks
MTB Sag Quick Reference Chart
| Bike Type | Fork Travel | Front Sag | Rear Travel | Rear Sag |
| XC | 100–140mm | 15–25% | 100–130mm | 20–30% |
| Trail | 140–160mm | 20–25% | 130–150mm | 25–30% |
| Enduro | 160–180mm | 25–30% | 150–170mm | 30–35% |
| DH | 180–200mm | 25–30% | 170–200mm | 30–35% |
Step 7: Test Ride and Adjust
- Ride on familiar trails.
- Note how the bike handles bumps, turns, and jumps.
- Adjust sag slightly if necessary (1–2 mm at a time).
Pro Tip: Keep a sag notebook—record settings and trail performance for future reference.
Step 8: Seasonal and Gear Adjustments
- Add or remove packs, hydration, or clothing → may require sag adjustment
- Suspension air density changes with temperature → check pressure occasionally
- Worn components → revisit sag measurement

Conclusion
Dialing your MTB sag correctly is a game-changer. It improves traction, control, and comfort, while allowing your suspension to perform at its best. By following this step-by-step guide, using the correct tools, and recording your adjustments, you’ll ride more confidently, whether you’re on XC trails, enduro runs, or downhill tracks.
Remember: Sag isn’t one-size-fits-all. Adjust for your weight, gear, and riding style, and don’t be afraid to tweak after test rides. Once it’s dialed in, every trail will feel smoother, faster, and more controllable.
FAQs About How to Dial Your MTB Sag
How do I know if my MTB sag is too soft or too firm?
Signs of too soft sag: suspension bottoms out easily, bike feels “sloppy” on corners.
Signs of too firm sag: harsh ride, poor traction on bumps. Use O-ring measurement and test rides to confirm.
Can sag settings change for different trail conditions?
Yes! Technical or rocky trails may benefit from slightly more sag for traction, while smooth XC trails can use slightly less sag for efficiency. Adjust gradually and record results.
Does rider weight distribution affect sag?
Yes. Front-heavy riders may need slightly more front sag, while rear-heavy riders adjust the rear shock. Personal comfort and handling feel are key.
How do temperature and altitude affect air shocks?
Colder temperatures can reduce air pressure slightly, making sag a bit softer. Higher altitudes reduce air density, also affecting sag. Check pressure before rides in extreme conditions.
Should I adjust sag for full gear vs. light gear?
Always measure sag in full riding gear (helmet, pack, hydration). Sag will be slightly less with minimal gear, so this ensures accurate setup for actual riding conditions.
How often should I recalibrate my sag after riding or maintenance?
After major rides, long descents, or crashes.
After suspension service or adding/removing accessories.
Periodically every few months if you ride frequently.