Downhill Mountain Biking for Beginners: Essential Skills, Techniques, Safety & Gear

Downhill mountain biking is about much more than riding fast down a steep trail. Good downhill riding combines body position, braking control, balance, vision, cornering, line choice, and confidence. The goal for a beginner should not be maximum speed—it should be learning how to keep the bike controlled when the terrain becomes steep, rough, loose, or unpredictable.
If you are new to downhill MTB, the best approach is to build skills progressively. Learn to control your speed first, then improve cornering and line choice before moving on to rocks, roots, drops, jumps, and steeper terrain.
This guide explains the most important downhill mountain biking skills for beginners, including how to position your body, brake effectively, corner, ride technical terrain, handle steep descents, practice safely, choose protective equipment, and progress without taking unnecessary risks.
What You’ll Learn
- How to set up your mountain bike for downhill riding
- The correct downhill MTB body position
- How to use your front and rear brakes
- How to choose and maintain a riding line
- How to corner, ride berms, and handle switchbacks
- How to ride rocks, roots, loose terrain, and steep sections
- How beginners should approach drops and jumps
- Common downhill MTB mistakes and how to correct them
- A practical progression plan for building downhill skills
- What protective gear beginners actually need
- How to stay safer on downhill trails
What Is Downhill Mountain Biking?
Downhill mountain biking is a form of mountain biking focused primarily on descending technically demanding trails.
Compared to cross-country riding, where climbing, endurance, and long-distance efficiency are major parts of the ride, downhill MTB places greater emphasis on descending control, technical handling, braking, line selection, and absorbing impacts.
A downhill trail must include:
- Steep descents
- Rock gardens
- Roots
- Berms
- Tight switchbacks
- Drops
- Jumps
- Loose corners
- Rollers
- Technical chutes
- Uneven or changing surfaces
The terrain often matters more than speed. A rider who can choose the right line and maintain smooth, controlled bike handling will generally perform better than someone who simply rides faster.
Downhill MTB vs. Trail and Cross-Country Riding
The riding disciplines overlap, but their priorities differ.
| Riding style | Main focus | Typical terrain |
|---|---|---|
| Cross-country MTB | Endurance, climbing and efficiency | Mixed terrain and long routes |
| Trail MTB | Balanced climbing and descending | Varied singletrack |
| Enduro MTB | Technical descending with significant climbing | Steep and technical trails |
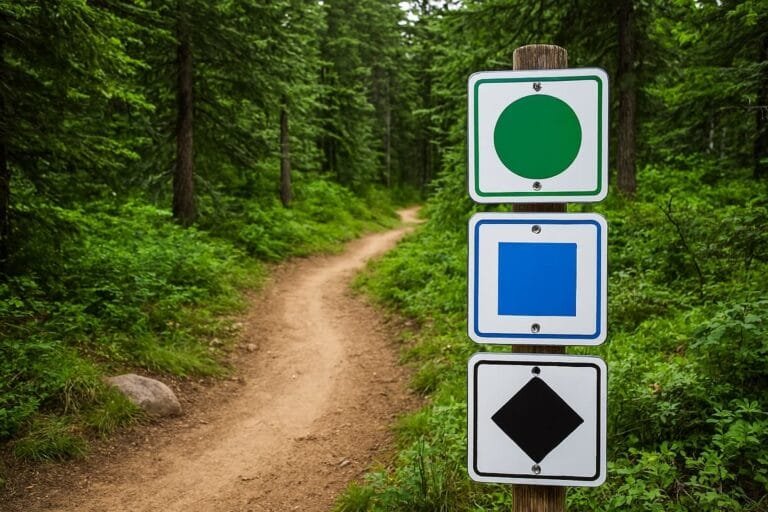
| Downhill MTB | Technical descending and speed control | Steep, rough and purpose-built trails |
You do not need a dedicated downhill race bike to start learning downhill skills. A capable trail or enduro bike can be suitable for many beginner-level descents.
Set Up Your Mountain Bike Before Riding Downhill
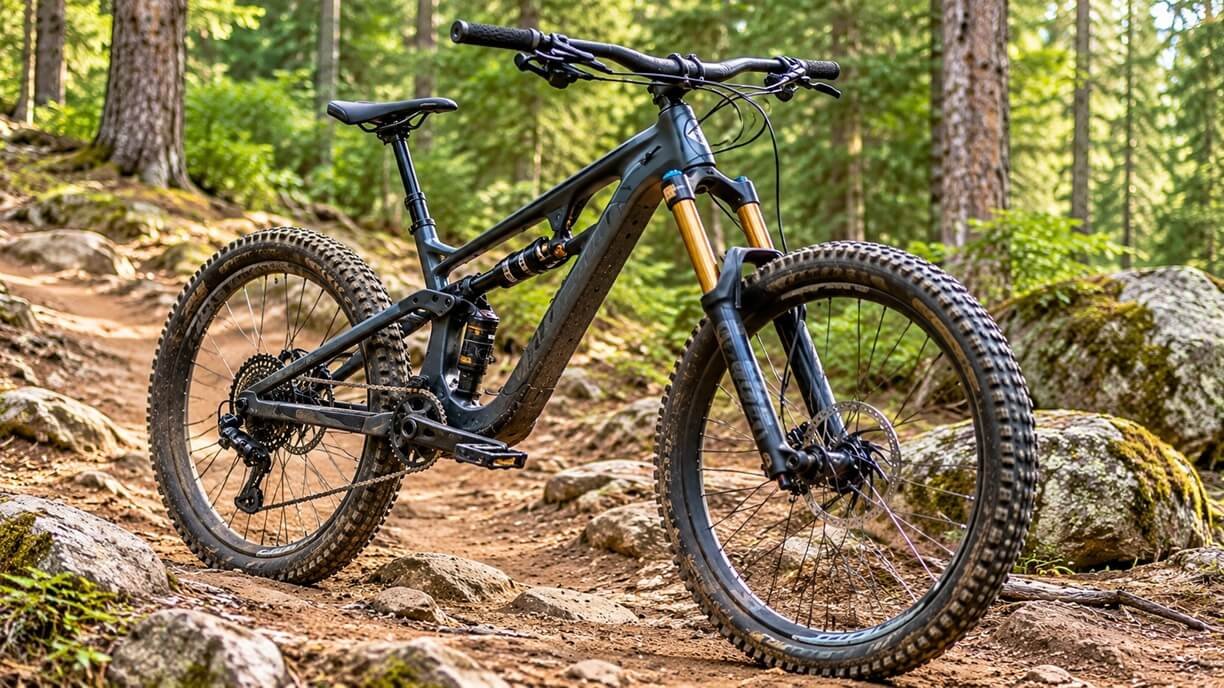
Good technique cannot compensate for a poorly prepared bike. Before your first descent, spend a few minutes checking the bike.
Check Your Brakes
Squeeze both brake levers while stationary. You should have:
- Firm lever pressure
- Predictable braking
- No excessive lever travel
- No obvious rubbing or mechanical problems
If the brakes feel weak, spongy, or inconsistent, fix the problem before riding a technical descent.
Check Your Tires
Your tire pressure affects traction, comfort, and control. Too much pressure can make the bike feel harsh and reduce grip over rough terrain. Too little pressure can increase the chance of tire damage or rim strikes. The appropriate pressure depends on factors such as:
- Rider weight
- Tire construction
- Wheel size
- Terrain
- Tubeless or tube setup
- Riding style
Instead of copying another rider’s pressure exactly, use the manufacturer’s recommendations as a starting point and make small adjustments based on actual trail performance.
Check Suspension
If your bike has front or full suspension, make sure the fork and shock are functioning properly. For beginners, suspension setup should provide enough support to prevent excessive bottoming while still allowing the wheels to track uneven terrain.
If you are unfamiliar with suspension setup, use the manufacturer’s recommended baseline settings before making more advanced adjustments.
Check Your Saddle and Dropper Post
A dropper post can make downhill riding easier because lowering the saddle gives you more room to move the bike beneath your body. For a technical descent, the saddle generally should not restrict your ability to shift your hips and move around the bike.
Learn the Correct Downhill MTB Body Position
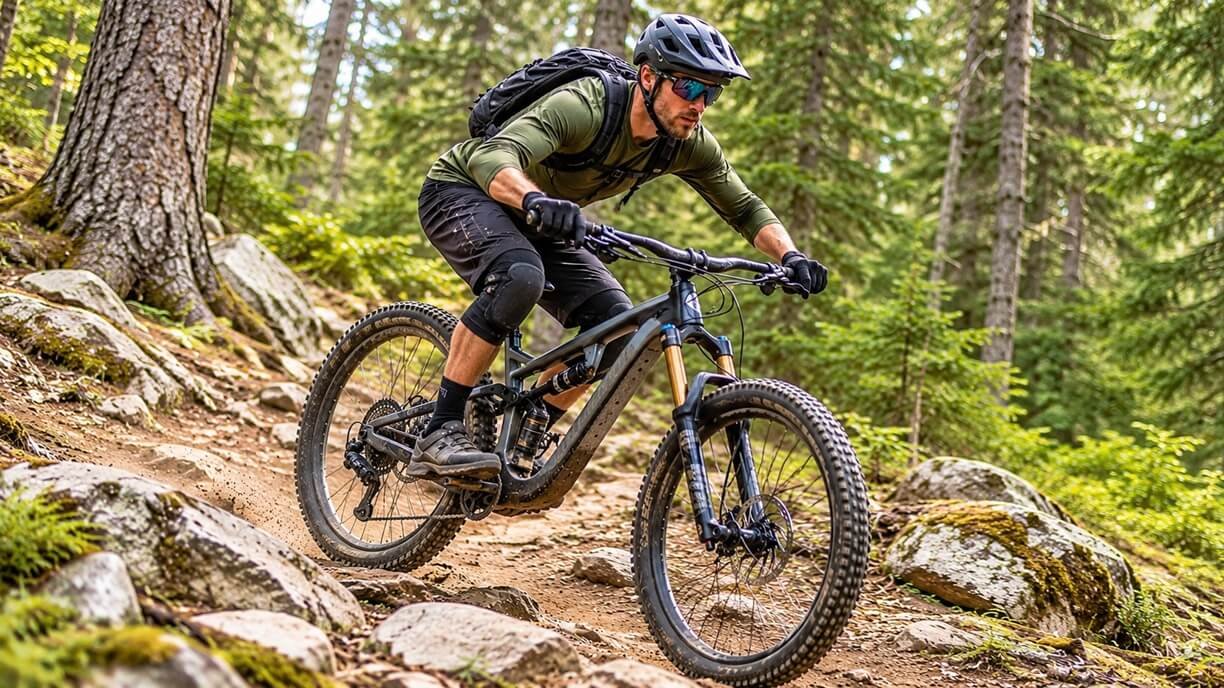
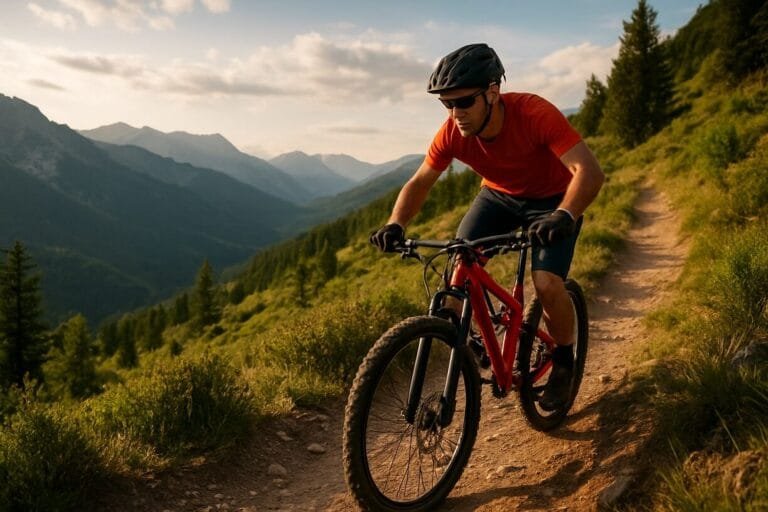
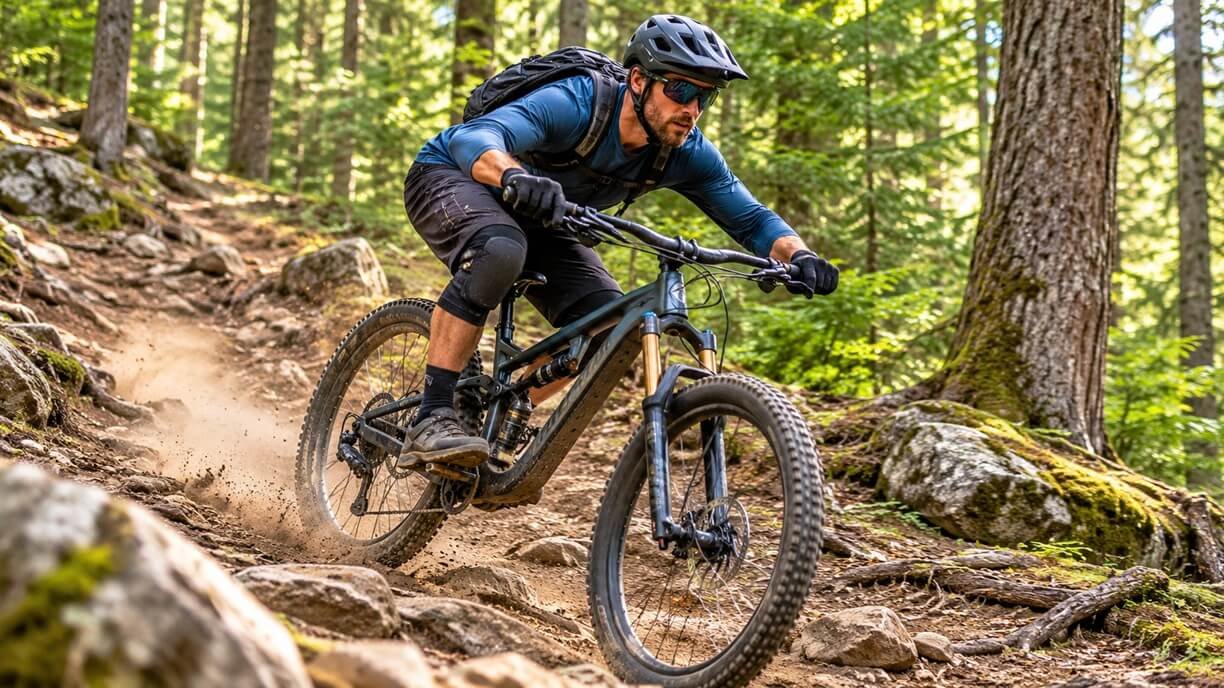
Body position is one of the foundations of downhill mountain biking. A good position allows the bike to move beneath you; at the same time, you can maintain control over your center of mass. Start with a neutral or ready position:
- Pedals roughly level
- Knees slightly bent
- Elbows bent and relaxed
- Head up
- Eyes looking down the trail
- Hips centered over the bike
- Heels slightly lowered
- Hands relaxed rather than tightly gripping the bars
Think of your arms and legs as suspension. The bike should be able to move beneath you without forcing your upper body to follow every bump.
Should You Lean Back on Downhill Sections?
Beginners are often told to “lean back” when riding downhill. That advice can be misleading if taken literally. On a steep descent, you need to move your body position appropriately to maintain balance as the bike’s angle changes. However, hanging far behind the rear wheel can reduce front-wheel control and make steering more difficult.
Instead of deliberately throwing your hips far backward, focus on:
lowering your body → keeping your arms and legs active → maintaining balance over the bike → allowing the bike to move beneath you.
This gives you better control than simply trying to get your weight as far back as possible.
Keep Your Grip Relaxed
A death grip on the handlebars can make rough terrain feel worse. Hold the bars firmly enough to maintain control, but avoid unnecessary tension in your hands, shoulders, and arms. A relaxed upper body allows the front wheel to respond naturally to changes in terrain.
Learn to Control Your Speed With the Brakes
Braking is one of the most important downhill MTB skills. Beginners often make one of two mistakes:
- They brake too aggressively.
- They drag the brakes continuously because they are nervous.
Both can make the bike harder to control.
Use Both Brakes
The front and rear brakes have different effects on the bike, but beginners should learn to use both progressively. The front brake can provide substantial stopping power, particularly when the bike is loaded under braking. The rear brake is useful for managing speed and can provide additional control.
There is no universal “70/30” braking ratio that works for every trail. Your braking needs change with:
- Slope
- Surface
- Tire grip
- Rider position
- Speed
- Corner shape
- Trail conditions
Practice Progressive Braking
Instead of grabbing the brake lever suddenly:
- Apply light pressure.
- Increase pressure smoothly.
- Feel how the tires respond.
- Reduce pressure when you have reached the desired speed.
This teaches you to control speed without unnecessarily locking the wheels.
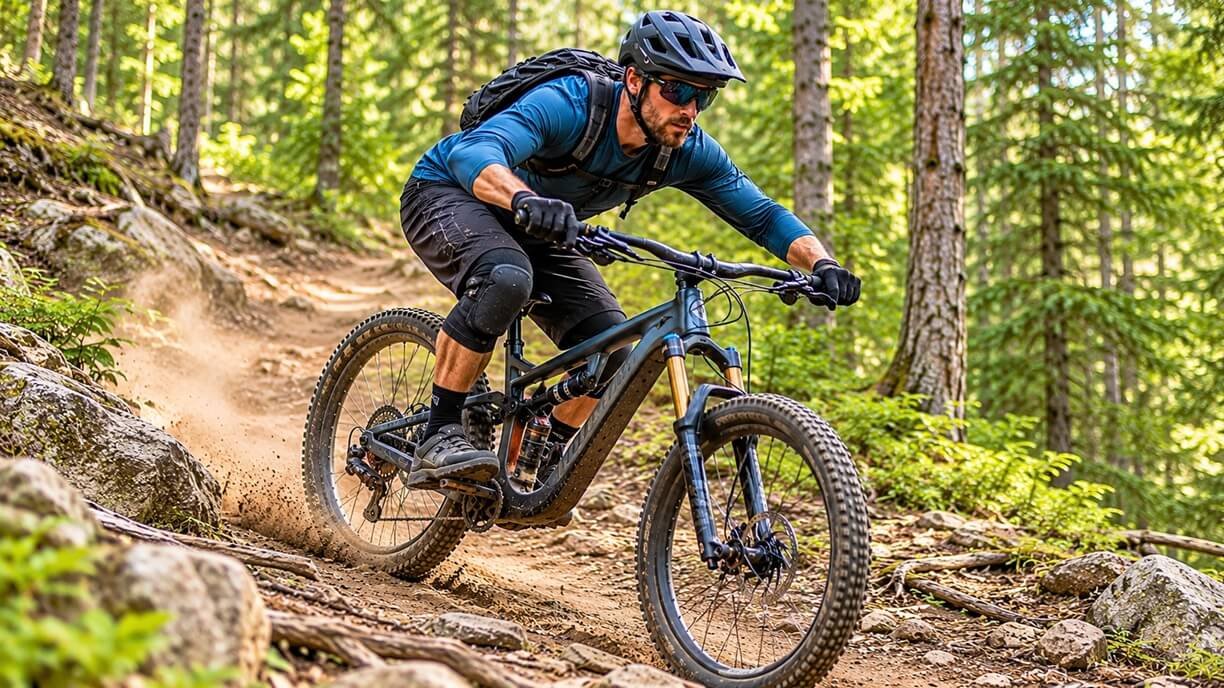
Brake Before the Corner
One of the most useful beginner habits is to set your speed before entering a corner. Instead of entering a corner too quickly and braking hard halfway through it:
brake → release or reduce braking → corner → accelerate when appropriate.
This gives your tires more opportunity to maintain traction while turning.
Learn to Look Ahead
Where you look strongly influences how you ride. A common beginner mistake is staring directly at the rock, root, hole, or obstacle they are afraid of hitting. Instead, look toward the part of the trail you want the bike to travel through.
Use Your Eyes to Build a Line
As you ride:
- Look several meters ahead.
- Identify the major obstacles.
- Decide where you want the bike to go.
- Focus on the exit of the section.
- Allow your peripheral vision to monitor nearby terrain.
This becomes increasingly important as speed increases.
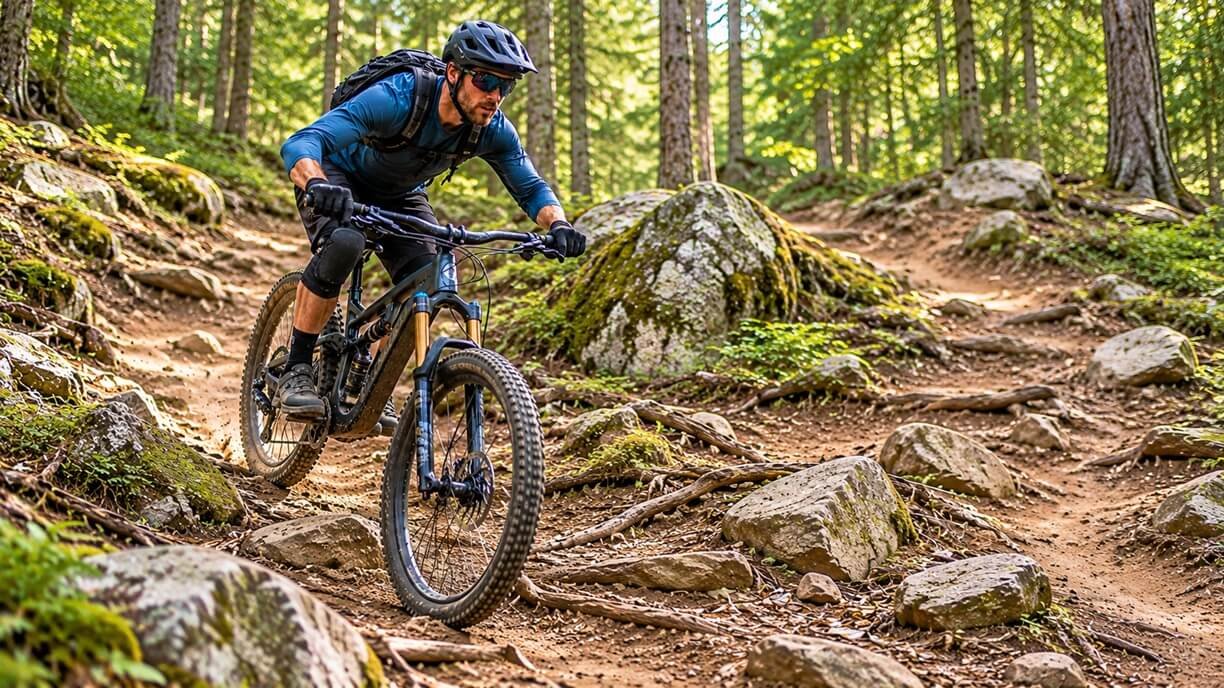
Avoid Target Fixation
If you stare at a large rock, your attention can become locked onto it. Try to identify an alternative line and focus your vision there. This does not mean ignoring obstacles. It means actively looking for the rideable path through them.
How to Choose a Good Downhill Line
Line choice is the route your bike takes through a section of trail. There is rarely one perfect line for every rider or every condition. A line that works on a dry trail may be poor when the same trail becomes wet or loose.
When approaching a technical section, consider:
- Where the surface has the most traction
- Which obstacles can be avoided
- Where the trail becomes wider
- Where you can safely control your speed
- Where the exit leads
- Whether the line gives you room to recover from a mistake
Look Beyond the Immediate Obstacle
Don’t choose your line based only on the rock directly in front of you. Look through the section and consider what comes immediately afterward. For example, a line that looks easy around one rock may put you directly into a difficult corner. Good line choice considers the entire sequence, not just the next obstacle.
Cornering Techniques for Downhill MTB
Cornering is one of the most important skills for becoming a confident downhill rider.
Before entering a corner:
- Look through the turn
- Reduce excessive speed
- Choose your line
- Set your body position
During the corner:
- Keep your outside pedal weighted
- Keep your body stable
- Allow the bike to lean
- Look toward the exit
- Avoid abrupt braking
Outside Foot Down
On many corners, placing the outside pedal down provides a stable platform and allows you to apply pressure through the bike. For example, when turning left, your right foot will generally be the outside foot.
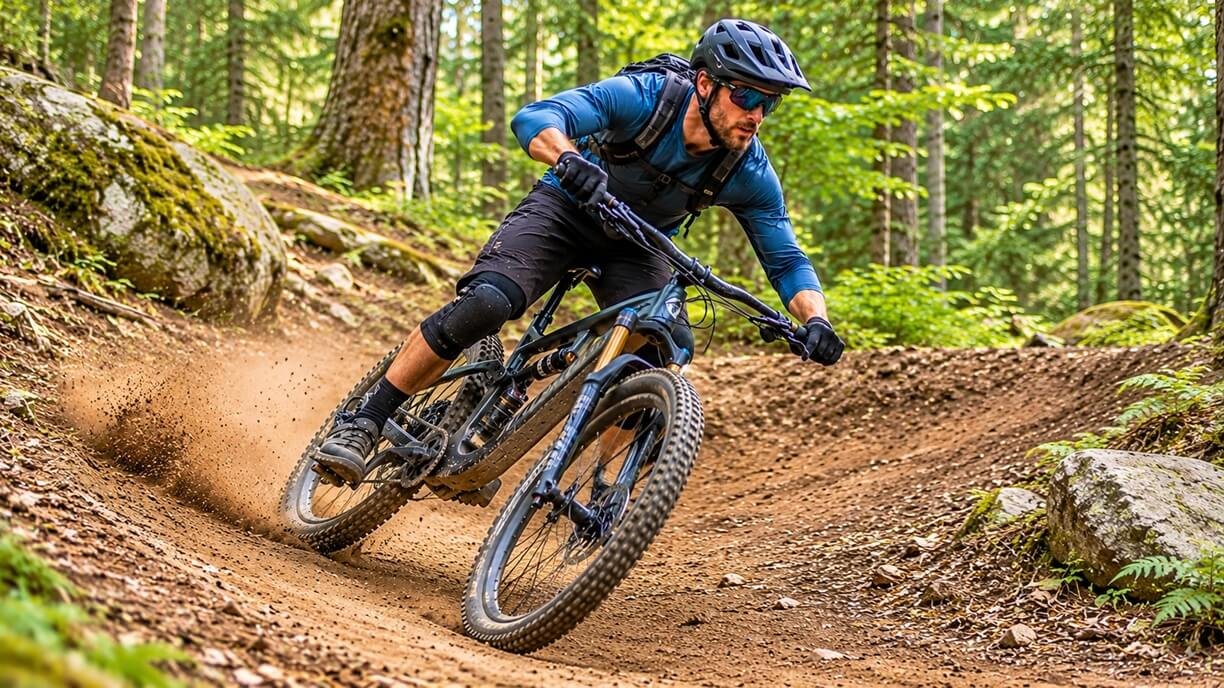
Lean the Bike
On a flat or bermed corner, you generally want the bike to lean into the turn while maintaining a stable body position. The exact amount of lean depends on:
- Speed
- Trail surface
- Corner shape
- Tire grip
- Rider position
Avoid trying to force a dramatic lean simply because you have seen advanced riders doing it. To learn more, check out our expert guide on How to Read the Perfect Trail Line on Your MTB.
How to Ride Berms
A berm is a banked corner that allows the rider to maintain more speed than a flat turn when ridden correctly. Approach the berm with a controlled speed.
Then:
- Look toward the exit.
- Enter smoothly.
- Maintain pressure through the bike.
- Keep your body balanced.
- Follow the shape of the berm.
- Accelerate when you are exiting if traction allows.
Do not enter a berm significantly faster than you can control. A berm is not a guarantee of grip. Dust, wet conditions, loose material, or damaged trail surfaces can change how much traction is available.
How to Ride Switchbacks
Switchbacks combine braking, cornering, balance, and line selection.
For a beginner:
- Reduce speed before the tightest part of the turn.
- Look toward the exit.
- Keep your outside foot weighted.
- Avoid sudden braking while turning.
- Keep your movements smooth.
On very tight switchbacks, it’s appropriate to take a slower, more controlled line rather than trying to maintain speed. If the section is beyond your ability, there is nothing wrong with stopping and walking it.
Riding Rock Gardens
Rock gardens can look intimidating because the trail surface is constantly changing. The biggest beginner mistake is often becoming rigid.
Instead:
- Keep your elbows and knees active.
- Look through the rock garden.
- Choose a manageable line.
- Maintain controlled momentum.
- Avoid unnecessary braking.
- Let the bike move underneath you.
Maintain Momentum—But Don’t Chase Speed
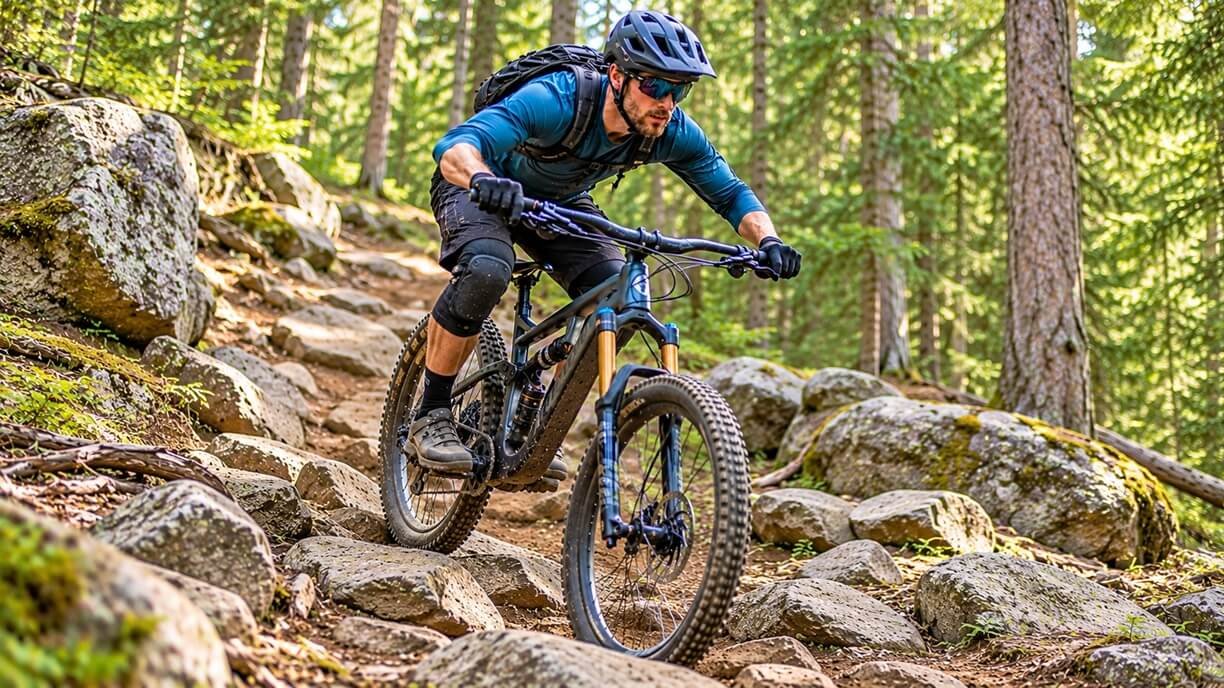
Momentum helps the bike move through uneven terrain, but that does not mean you should enter a rock garden at high speed. The goal is controlled momentum.
If you enter too slowly, the bike feels unstable over repeated obstacles. If you enter too quickly, you may run out of braking and line-selection options.
How to Ride Over Roots
Roots can become particularly slippery when wet. When approaching a root section:
- Reduce speed before the most technical part.
- Keep the bike relatively straight when crossing individual roots where possible.
- Stay relaxed.
- Avoid sudden steering movements.
- Avoid abruptly grabbing the brakes on top of slippery roots.
For multiple roots, focus on maintaining a smooth line rather than trying to react separately to every root.
Riding Loose Gravel and Dust
Loose surfaces require smoother control. Abrupt braking, steering, or body movements can cause the tires to lose traction.
On loose terrain:
- Reduce speed before the section.
- Keep your movements smooth.
- Avoid unnecessary steering corrections.
- Maintain balanced pressure on the bike.
- Look ahead rather than directly at the loose material.
Your tires need enough opportunity to maintain contact with the surface.
Handling Wet Trails and Mud
Wet conditions change the way a trail behaves.
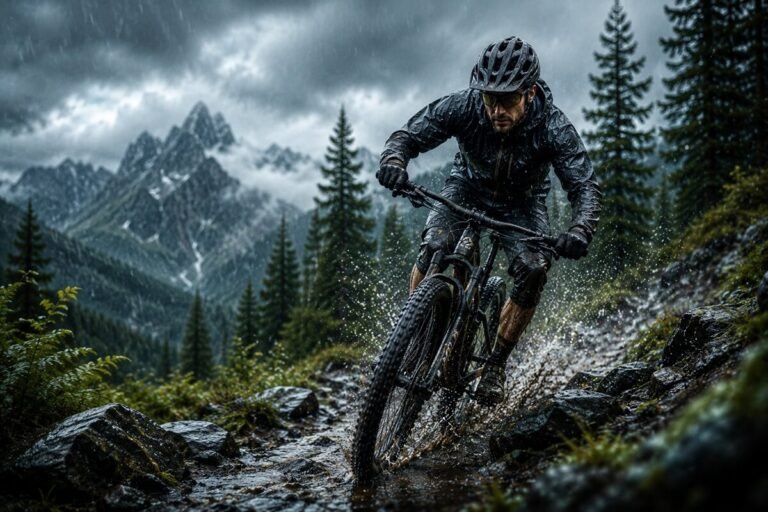
Rocks and roots can become significantly more slippery; at the same time, muddy sections can reduce predictable traction.
When conditions are wet:
- Slow down earlier.
- Increase your following distance.
- Avoid sudden inputs.
- Be especially cautious on roots and rocks.
- Expect braking distances to change.
- Check local trail guidance before riding.
If a trail is closed because of wet conditions, respect the closure. Riding saturated trails can damage the trail surface and create deeper ruts.
How to Handle Steep Descents
Steep terrain can make beginners feel as though they need to push their body dramatically backward. Instead, focus on maintaining a balanced position.
As the trail steepens:
- Lower your center of mass.
- Keep your arms and legs bent.
- Keep your eyes up.
- Maintain controlled braking.
- Avoid locking your arms.
- Keep enough front-wheel pressure for steering.
- Avoid hanging excessively behind the bike.
The Goal Is Control, Not Fearless Riding
If a steep section makes you uncomfortable, stop before it, inspect the line, and decide whether it is appropriate for your current skill level. Walking a section is a legitimate part of mountain biking.
How to Ride Drops as a Beginner
A drop is a feature where the trail falls away enough that the bike leaves the ground or requires a deliberate roll-down technique.
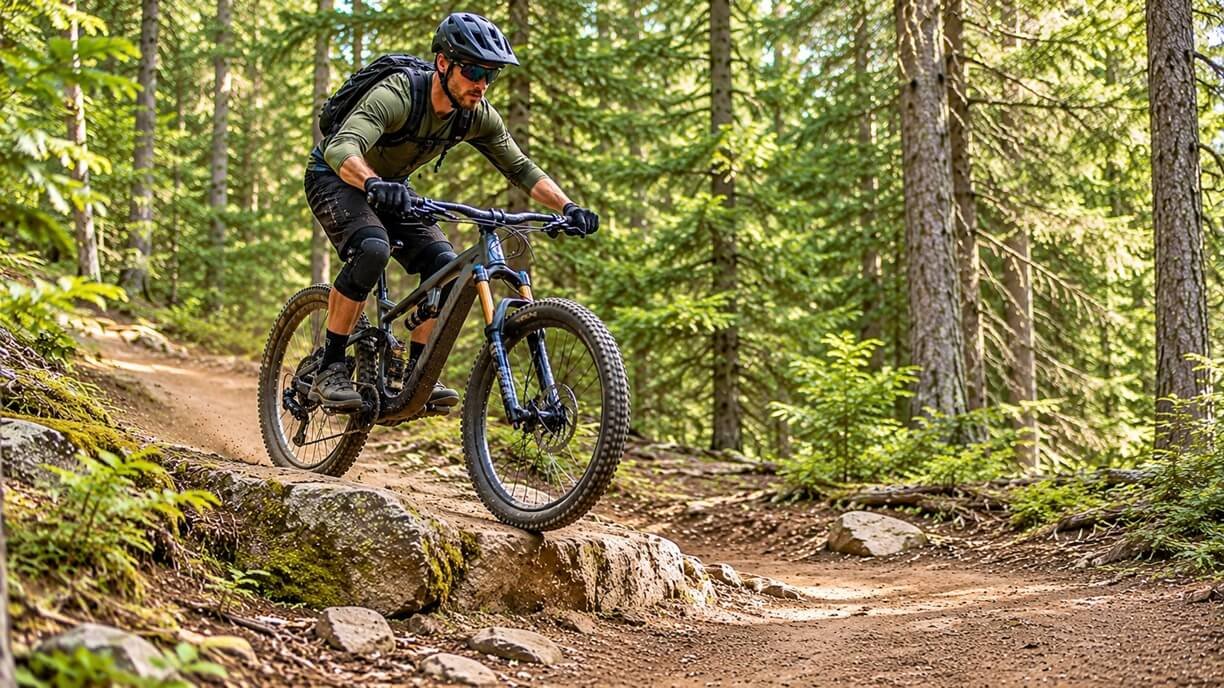
Do not begin with large drops. Start with very small, controlled features where you can safely practice. Before attempting a drop, learn to:
- Maintain a stable neutral position
- Control your braking
- Look ahead
- Keep your arms and legs relaxed
- Maintain a straight approach
The exact technique depends on the size and shape of the drop. For larger features, proper instruction from an experienced coach can be extremely valuable.
Don’t Practice Drops When You’re Unsure
If you are uncertain about whether you can safely ride a feature, inspect it first.
Ask yourself:
- Do I know the correct approach?
- Can I control my speed?
- Is the landing clear?
- Is the feature appropriate for my experience?
- What happens if I make a mistake?
If the answer is unclear, don’t force it.
Beginner MTB Jumping
Jumping is a progression skill, not something you need to master on your first downhill ride. Before practicing jumps, become comfortable with:
- Body position
- Braking
- Cornering
- Pumping terrain
- Small rollers
- Bike control
Start with small, predictable features designed for learning.
Focus on:
- A controlled approach
- Stable body position
- Looking toward the landing
- Relaxed arms and legs
- Smooth landings
Avoid using large jumps to test confidence.
A good progression is:
rollers → small tabletop → small jumps → progressively larger features.
Professional instruction is recommended when learning more advanced jumping techniques.
How to Use a Dropper Post
A dropper seatpost can be particularly useful for downhill riding. Lowering the saddle gives you more room to move your hips and allows the bike to move underneath you on steep or technical terrain. A simple beginner approach is:
- Normal terrain: saddle at an efficient pedaling height.
- Technical descent: lower the saddle enough to provide freedom of movement.
- Climb: return the saddle to an appropriate pedaling position.
You don’t necessarily need to drop the saddle completely for every descent. The correct height depends on the terrain and your ability to control the bike.
Common Downhill MTB Mistakes Beginners Make
- 1. Riding Too Fast: Speed can hide technical weaknesses until something goes wrong.
- Fix: Focus on control first. Increase speed only when the same section feels predictable.
- 2. Death-Gripping the Handlebars: Excess tension makes it harder for the bike to move naturally.
- Fix: Relax your hands, shoulders, elbows, and upper body.
- 3. Looking at Obstacles: Staring at a rock or root can interfere with your ability to choose a line.
- Fix: Look toward the path you want to ride.
- 4. Dragging the Brakes Constantly: Constant braking can reduce momentum and make the bike feel less stable.
- Fix: Brake deliberately, particularly before technical sections and corners.
- 5. Braking Hard in Corners: Heavy braking while turning can reduce available traction.
- Fix: Set your speed before the corner whenever possible.
- 6. Leaning Too Far Back: Overcorrecting by hanging behind the bike can reduce front-wheel control.
- Fix: Stay balanced and allow your body position to adapt to the terrain.
- 7. Stiff Arms and Legs: A rigid body cannot absorb terrain effectively.
- Fix: Keep your elbows and knees flexed and let the bike move.
- 8. Following Faster Riders: A more experienced rider may make a trail look easier than it actually is.
- Fix: Ride at your own ability level.
- 9. Attempting Features Too Early: Confidence can disappear quickly after one poorly timed jump or drop.
- Fix: Build skills progressively.
A Beginner Downhill MTB Practice Plan
You don’t need to ride difficult trails every time you practice. Short, focused sessions can produce better skill development.
Session 1: Braking
Find a safe, gentle slope.
Practice:
- Smooth braking
- Controlled stops
- Front and rear brake modulation
- Braking at different speeds
The goal is to make braking predictable.
Session 2: Body Position
On flat or gentle terrain:
- Practice the neutral position.
- Bend your elbows and knees.
- Keep your heels slightly down.
- Move your body while keeping your hands relaxed.
Session 3: Cornering
Practice wide corners first.
Focus on:
- Looking through the corner
- Braking before the turn
- Outside foot pressure
- Smooth steering
Session 4: Small Obstacles
Progress to small roots, rocks, rollers, and roll-downs. Don’t worry about speed. Focus on staying relaxed and choosing a clean line.
Session 5: Combine the Skills
Ride a beginner-friendly descent and concentrate on:
body position → vision → braking → line choice → cornering.
Don’t try to improve everything simultaneously. Choose one skill as the main focus of each ride.
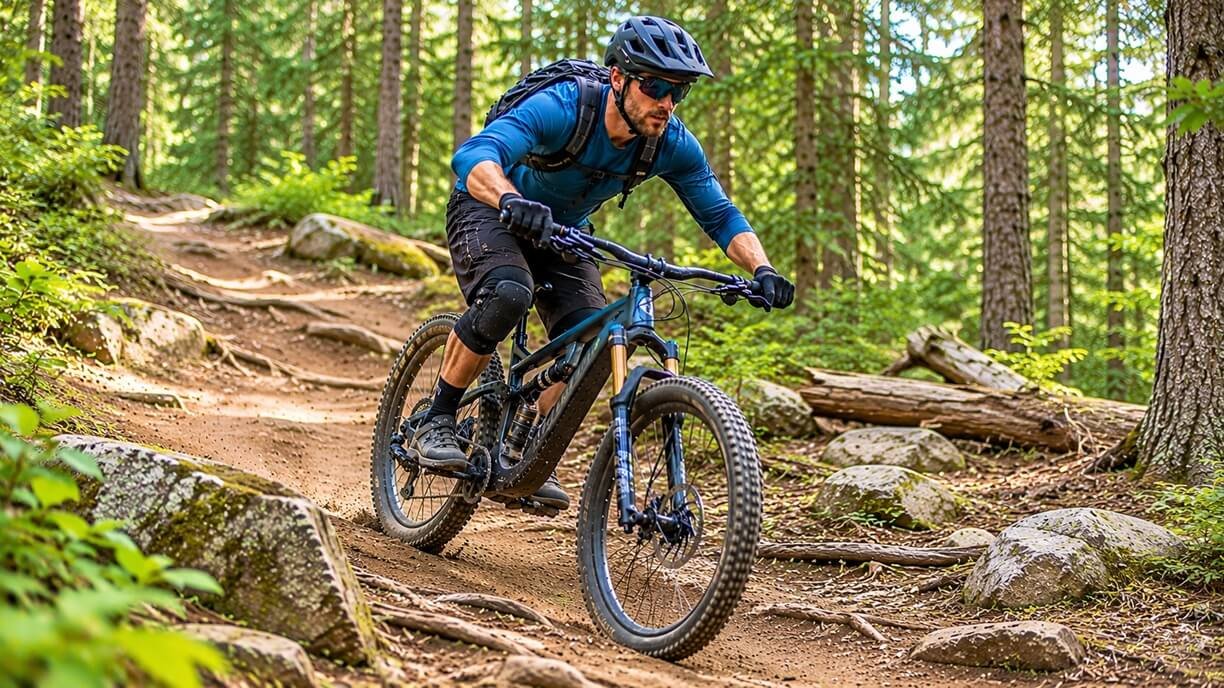
How to Progress From Beginner to Confident Downhill Rider
A useful progression is:
- Stage 1: Bike Control: Learn braking, balance, body position, and basic steering.
- Stage 2: Basic Descents: Ride gentle downhill trails and practice maintaining controlled speed.
- Stage 3: Cornering: Add flat corners, berms, and simple switchbacks.
- Stage 4: Technical Terrain: Progress to rocks, roots, loose surfaces, and steeper sections.
- Stage 5: Small Features: Introduce small roll-downs, drops, rollers, and beginner jumps.
- Stage 6: Advanced Terrain: Only progress to larger jumps, drops, steep chutes, and technical lines when your current skills are consistent.
The important principle is progression rather than rushing. A section should become predictable before you increase the difficulty.
Downhill MTB Safety Tips
Mountain biking carries inherent risk, particularly on steep and technical terrain. You can reduce unnecessary risk by preparing properly.
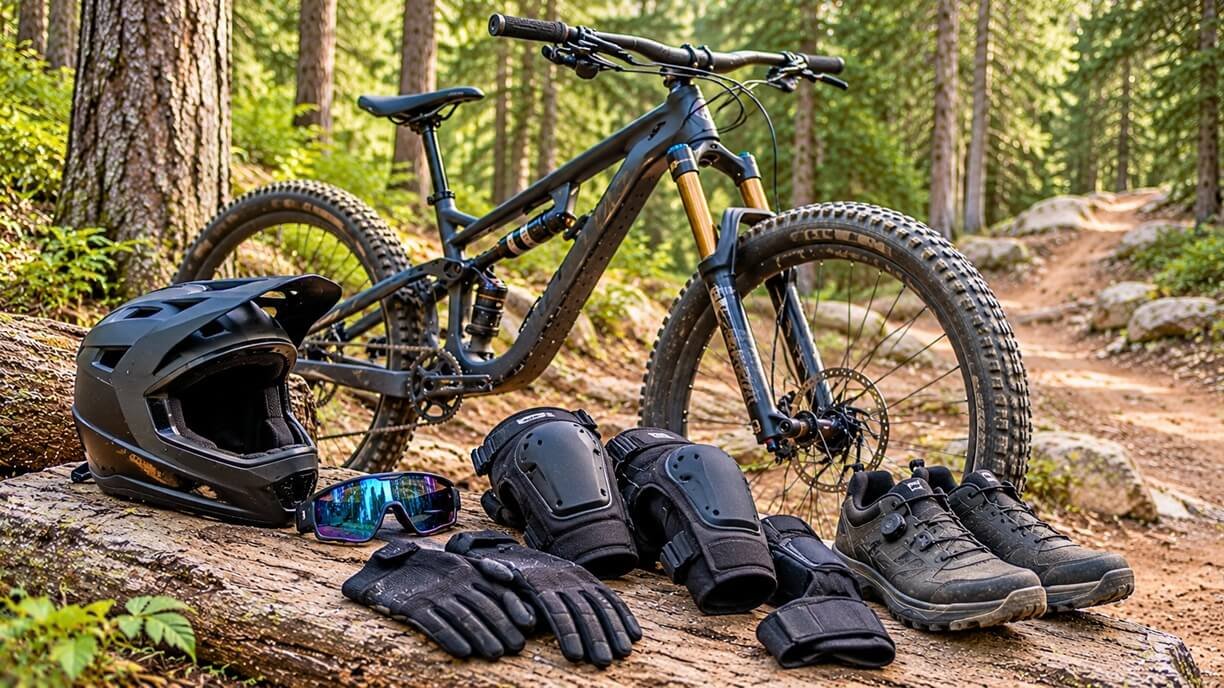
Wear Appropriate Protection
For technical downhill riding, consider:
- Properly fitted helmet
- Full-face helmet for higher-risk terrain
- Winter Gloves
- Knee protection
- Elbow protection
- Eye protection
- Appropriate riding shoes
The exact protection you need depends on the trail, riding style, and level of risk. If you’re looking for reliable mountain bike shoes for flat pedals, check out our guide to the best mountain biking shoes for flat pedals for our top recommendations and buying tips.
Inspect Your Bike
Before riding, check:
- Brakes
- Tires
- Wheels
- Suspension
- Handlebars
- Crank and pedals
- Axles
- Dropper post
Tell Someone Where You’re Riding
When riding in a remote area, let someone know your planned route and expected return time.
Carry:
- Phone
- Water
- Basic repair equipment
- Spare tube or tubeless repair equipment
- Pump or CO₂ inflator
- Multi-tool
- Emergency supplies appropriate to the location
Know When to Stop
Do not allow peer pressure or momentum to determine whether you ride a feature. Stopping, inspecting, or walking a section is better than committing to something you cannot control.
Recommended Downhill MTB Gear for Beginners
You do not need a garage full of expensive equipment to begin developing downhill skills.
Essential Gear
Having the right gear can improve comfort, control, and safety on the trail, especially when tackling technical downhill terrain.
Mountain Bike
A capable trail, enduro, or downhill-oriented mountain bike can work depending on the terrain. The bike should be mechanically sound and appropriately sized for the rider.
Helmet
A properly fitted helmet is essential. For technical downhill riding and bike-park terrain, a full-face helmet provides additional facial and chin protection compared with an open-face helmet.
Gloves
Gloves improve grip and protect your hands from branches, dirt, and falls.
Eye Protection
Glasses or goggles help protect your eyes from dust, debris, branches, and insects.
Knee Protection
Knee pads are particularly useful as trails become more technical.
Appropriate Shoes
Use mountain-bike-specific shoes that provide a secure connection with the pedals and appropriate grip.
Optional Protection
For more aggressive downhill riding, consider:
- Elbow pads
- Knee/shin protection
- Body armor
- Neck protection where appropriate
Protection should complement good riding technique rather than encourage you to attempt terrain beyond your ability.
Should Beginners Ride a Downhill Bike?
Not necessarily. A dedicated downhill bike is designed for steep, technical descents and repeated impacts, but it can be unnecessary for someone learning basic downhill skills. A trail or enduro bike may be more practical if you also need to:
- Pedal uphill
- Ride mixed terrain
- Explore singletrack
- Practice general mountain biking
A dedicated downhill bike becomes more relevant when your riding regularly involves steep, technical descents, bike-park trails, jumps, drops, and high-impact terrain.
When Should a Beginner Consider Professional Coaching?
Professional instruction can accelerate skill development and reduce the chance of learning poor habits. Consider taking a lesson if you are struggling with:
- Braking
- Cornering
- Steep terrain
- Jumps
- Drops
- Body position
- Fear or confidence
A qualified MTB instructor can observe your technique and identify problems that are difficult to notice while riding alone.
FAQs About Downhill Mountain Biking for Beginners
Should I lean back when riding downhill?
You should adapt your body position as the terrain becomes steeper, but avoid hanging excessively behind the rear wheel. Keep your body balanced, maintain active arms and legs, and preserve enough front-wheel control for steering.
Should I use both brakes when riding downhill?
Yes. Beginners should learn to use both brakes progressively. The amount of front and rear braking required changes with terrain, traction, slope, speed, and body position.
Why do I feel unstable on steep descents?
Common causes include excessive braking, a stiff upper body, poor vision, or an overly rearward body position. Practice on easier slopes and work on one skill at a time.
How do I get better at downhill mountain biking?
Practice braking, body position, cornering, line choice, and obstacle handling on terrain that matches your current ability. Progress gradually instead of repeatedly attempting trails that are too difficult.
Can beginners downhill mountain bike on a hardtail?
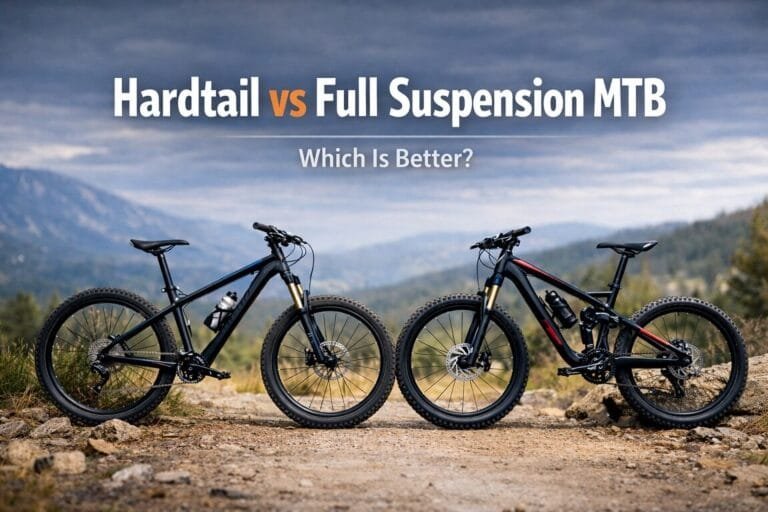
Yes. A hardtail can be useful for developing fundamental skills on appropriate terrain. However, rough and highly technical downhill trails can place greater demands on the rider and bike than a full-suspension setup.
Do I need a full-face helmet for downhill MTB?
For technical downhill trails, bike parks, jumps, and higher-risk terrain, a full-face helmet offers additional protection. The appropriate helmet depends on the terrain and riding style.
How long does it take to become good at downhill MTB?
There is no fixed timeline. Progress depends on riding frequency, previous cycling experience, terrain, coaching, and individual confidence. Consistent practice on appropriately challenging terrain is more important than reaching an arbitrary speed or trail grade.
What should I learn first in downhill mountain biking?
Start with braking, body position, balance, and looking ahead. Once those skills become comfortable, progress to cornering, line choice, technical terrain, and small features.
Is downhill mountain biking dangerous?
Downhill MTB carries a meaningful risk of falls and injury because of speed, elevation changes, obstacles, and technical terrain. Proper equipment, bike maintenance, trail selection, progressive skill development, and sensible decision-making can reduce unnecessary risk.
Final Thoughts: Focus on Control Before Speed
Downhill mountain biking becomes much more enjoyable when you stop thinking about speed as the primary goal. The strongest foundation is:
Body position → braking → vision → line choice → cornering → technical terrain → small features → greater speed.
Start on terrain that feels manageable. Practice individual skills instead of trying to master everything on one ride. Keep your movements smooth, look ahead, use your brakes deliberately, and allow the bike to move beneath you. As your control improves, speed will naturally become easier to manage.
The goal isn’t to ride every trail as fast as possible. The target is to become skilled enough that you can choose your speed, control your bike, and make good decisions when the trail gets difficult.